Introduction to Budget Kitchen Renovations
Why Choose DIY for Kitchen Remodeling?
Imagine Sarah, a single mother on a tight budget, eager to refresh her kitchen but unable to afford professional contractors. She discovered that taking the DIY approach not only saved her thousands but gave her a deep sense of accomplishment. Choosing to remodel your kitchen yourself means you control both the timeline and the costs. Rather than waiting months for bids and construction teams, you can start small and scale your project as your budget allows. Plus, DIY projects often add a personal touch that mass contractors might miss, tailoring the kitchen to your unique style and needs.
Setting Realistic Goals and Expectations
John and Lisa dreamed of a magazine-worthy kitchen revamp, but soon realized that their budget didn’t align with their aspirations. They adjusted their expectations by focusing on high-impact changes like fresh paint and replacing just the cabinet doors. For any budget renovation, it’s critical to be honest about what can realistically be achieved without professional help. Setting smaller, focused goals—such as updating the countertops or improving lighting—can deliver noticeable improvements without overwhelming your finances or skill level.
Planning Your Renovation Smartly
Assessing Your Current Kitchen
When Mike took a hard look at his outdated kitchen, he identified the worn-out countertops and dull cabinets as the main eyesores. Before rushing into purchases, he measured every dimension meticulously and noted what worked and what didn’t. A thorough assessment helps prioritize renovation tasks, avoid unnecessary expenses, and prevent surprises during the project. Understanding your kitchen’s flow, storage capacity, and lighting also guides smarter choices when selecting new materials and layouts.
Creating a Practical Budget
Creating a budget is more than just guessing what you can afford. Jenny sat down with receipts from a previous small remodeling project and estimated the costs of paint, hardware, and flooring supplies. She allocated funds with a clear priority: paint and cabinets first, then appliances later. By breaking down costs into categories and including a contingency for unexpected expenses, you ensure your project stays financially manageable and less stressful.
Prioritizing Renovation Tasks for Maximum Impact
Tom learned that replacing every appliance was out of his reach, so he opted to focus on cabinetry and lighting, which transformed the kitchen’s vibe dramatically. Prioritizing areas that will create the greatest visual or functional difference helps stretch your dollars. Start with foundational updates such as fresh paint or resurfacing cabinets before moving on to bigger investments. This stepwise approach ensures that even if the project is paused, your kitchen remains more enjoyable and valuable.
Cost-Effective Materials and Tools
Choosing Budget-Friendly Cabinets and Countertops
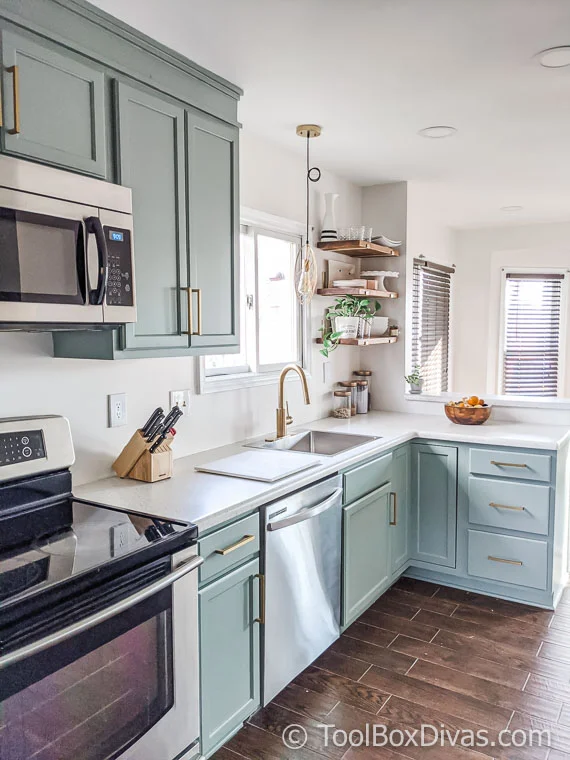
In Lucy’s renovation, she chose milk paint for her cabinet makeover, which proved to be forgiving and durable, perfect for beginners. Instead of expensive granite everywhere, she invested in a statement stone countertop just for the island, pairing it with laminate around the perimeter. This clever mix saved money while still offering a touch of luxury. Selecting materials that balance aesthetics, durability, and affordability is key—especially when focusing on areas that get the most attention.
Where to Find Affordable Appliances and Fixtures
Mark found his new kitchen appliances at a local clearance outlet, snagging barely used models at a fraction of the retail price. For fixtures like faucets and lighting, exploring online marketplaces and second-hand stores can reveal hidden gems. Choosing energy-efficient models may cost a bit more upfront but often saves money in the long run. If budget is a major concern, plan to keep existing appliances and update only critical fixtures to enhance functionality.
Essential Tools Every DIYer Should Have
Emma’s success hinged on her investment in a few trusty tools: a drill, level, measuring tape, and a comfortable paintbrush set. While some specialized tools can be borrowed or rented, owning essentials makes the process smoother and more enjoyable. In many cases, beginner-friendly materials like click-and-lock luxury vinyl tile (LVT) flooring facilitate installation without complicated equipment, perfect for first-time renovators.
Step-by-Step Renovation Process
Demolition and Preparing the Space
When Kevin tackled his renovation, he approached demolition cautiously, removing cabinet doors and hardware first rather than tearing out everything at once. Clearing and cleaning the space thoroughly sets the stage for a smoother installation and prevents damage to walls or flooring. Taking time at this stage to fix any underlying issues—like water damage or loose drywall—prevents future headaches.
Installing Cabinets and Countertops
For her kitchen update, Olivia followed online tutorials demonstrating how to mount cabinets securely, learning as she went. Installing cabinets yourself demands patience and precision, especially ensuring they’re leveled and anchored tightly. In parallel, placing the countertops—whether stone or laminate—may involve adhesive and careful measurements. Breaking these complicated steps down into manageable chunks makes the project less daunting, and watching your vision come to life is rewarding.
Painting and Finishing Touches
Painting was Anna’s favorite part, transforming dull surfaces into fresh, bright focal points. If you’re on a strict budget, starting with paint alone can refresh the entire space. Using durable and easy-to-apply options like milk paint for cabinets can provide an impressive finish without needing professional sanding or priming. Adding peel-and-stick vinyl backsplashes is another quick update, especially when you’re not comfortable setting tile yourself. Finally, updating hardware and light fixtures rounds out the renovation, adding polish without breaking the bank.
Tips to Avoid Common DIY Mistakes
Ensuring Safety During Renovation
While working on his kitchen, Sam learned the importance of wearing protective gear, especially when handling power tools or peeling old cabinetry. Ensuring good ventilation and turning off electrical circuits before working on lighting decreases hazards. Taking the time to watch safety tutorials and following manufacturer instructions prevents many common injuries and mishaps.
Maintaining Quality While Saving Costs
Claire chose cost-saving materials but was careful never to cut corners on preparation work. Cleaning, sanding, and priming surfaces properly made her paint and finishes last longer, improving durability. She also monitored spacing when installing cabinets to maintain proper function. The key is balancing cost-saving with the level of effort: investing more time can often substitute for expensive materials or professionals, resulting in a kitchen that looks great and functions well.
Maximizing Value with Simple Upgrades
Lighting Improvements That Transform Your Kitchen
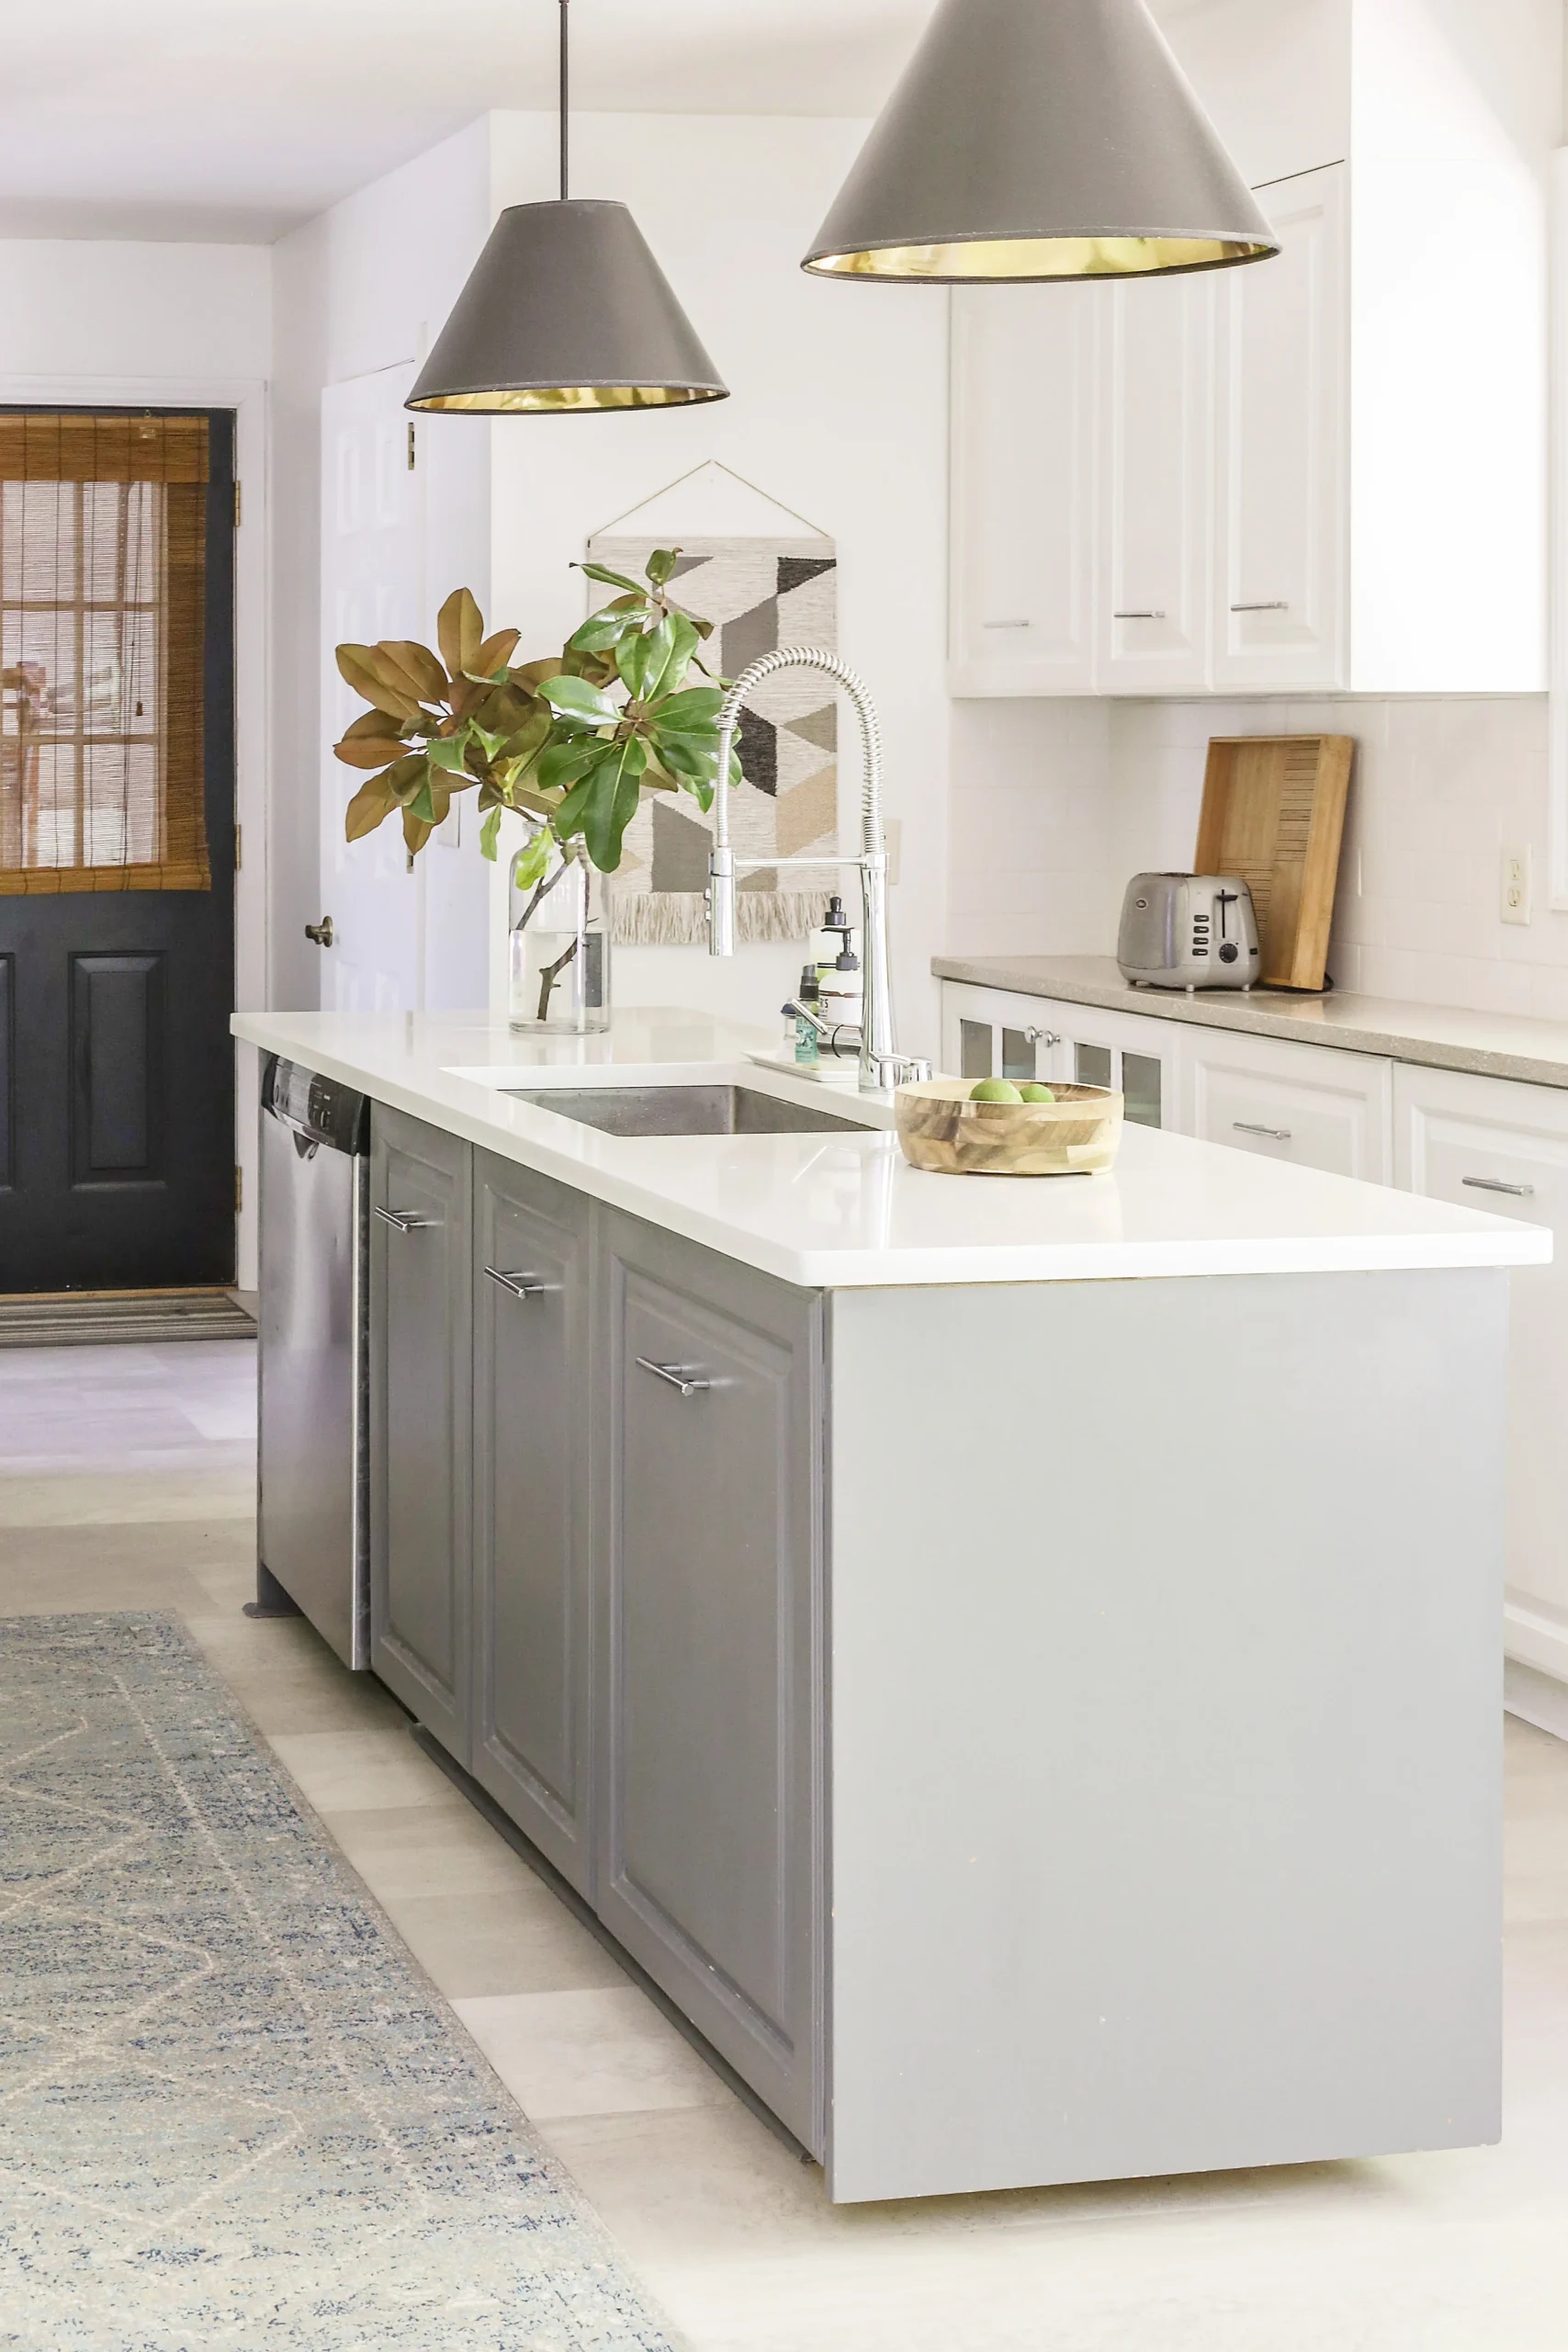
During his refresh, David installed under-cabinet LED strips and swapped out an outdated ceiling fixture. The new lighting brightened dark corners and gave the space a modern feel. Small lighting upgrades can change the ambiance dramatically without the expense of major rewiring. Focus on adding layers of light—task, ambient, and accent—to make your kitchen inviting and functional.
Decorative Elements to Enhance Aesthetics
Lucy added charm by incorporating open shelving made from reclaimed wood, which she built herself following online woodworking tutorials. She also used colorful accessories and a patterned rug to personalize the space. Simple touches like new cabinet knobs, stylish containers, or a fresh set of dish towels can uplift the look instantly. These inexpensive upgrades boost both aesthetics and functionality, giving your kitchen a cohesive, polished feel.
Conclusion: Achieving a Beautiful Kitchen on a Budget
When Rachel completed her budget kitchen renovation, she felt proud of the transformation achieved mostly through her own hands and creativity. By planning thoughtfully, prioritizing key areas, and choosing affordable yet durable materials, it’s possible to create a kitchen that looks stylish and functions well without hiring professionals. Small, incremental improvements add up, proving that with patience, resourcefulness, and a willingness to learn, your dream kitchen is within reach—even on a limited budget.

