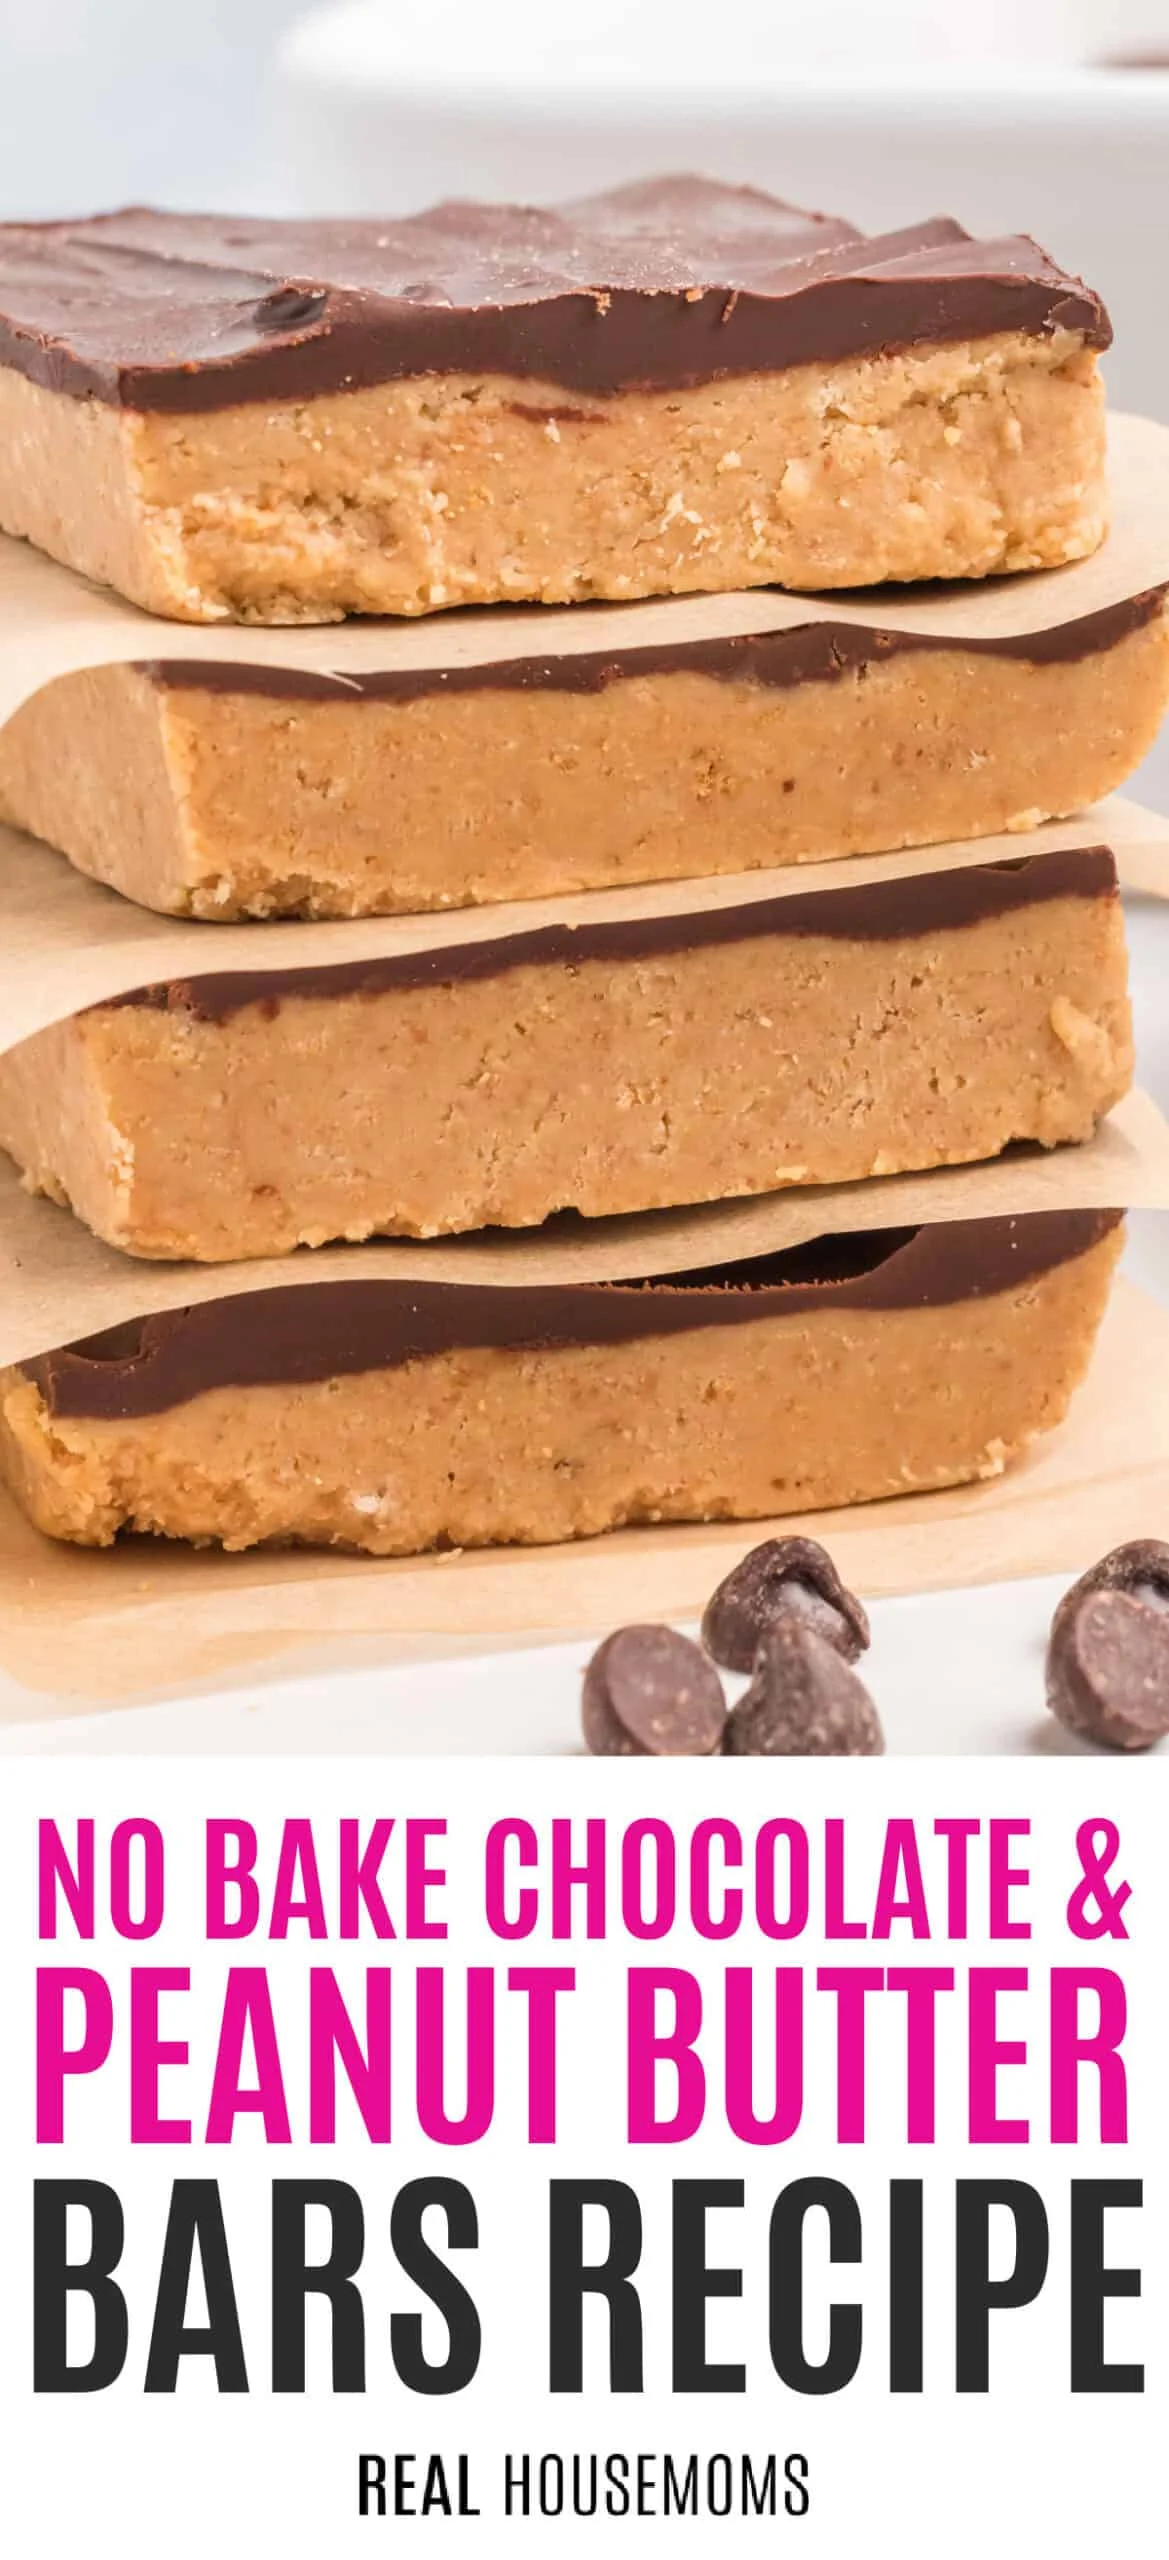
Introduction to No-Bake Chocolate Peanut Butter Bars
Why Choose No-Bake Recipes?
No-bake recipes have gained popularity because they save time, require minimal effort, and avoid the need for an oven. This is especially beneficial during hot weather or when you want a quick treat without heating up your kitchen. No-bake chocolate peanut butter bars are a perfect example of how simple ingredients can come together to create a delicious dessert without any baking involved. They provide a hassle-free way to satisfy a sweet tooth while keeping preparation stress-free.
The Perfect Quick Dessert
Making no-bake chocolate peanut butter bars in under ten minutes is achievable, making them ideal for last-minute gatherings or spontaneous snack cravings. Their preparation involves straightforward mixing and layering, which means anyone, including kids, can participate. The result is a rich, creamy treat combining the classic flavors of peanut butter and chocolate, ready to enjoy after a short chilling period. This quick preparation method suits busy schedules and complements various occasions.
Ingredients Required for No-Bake Chocolate Peanut Butter Bars
Essential Pantry Staples
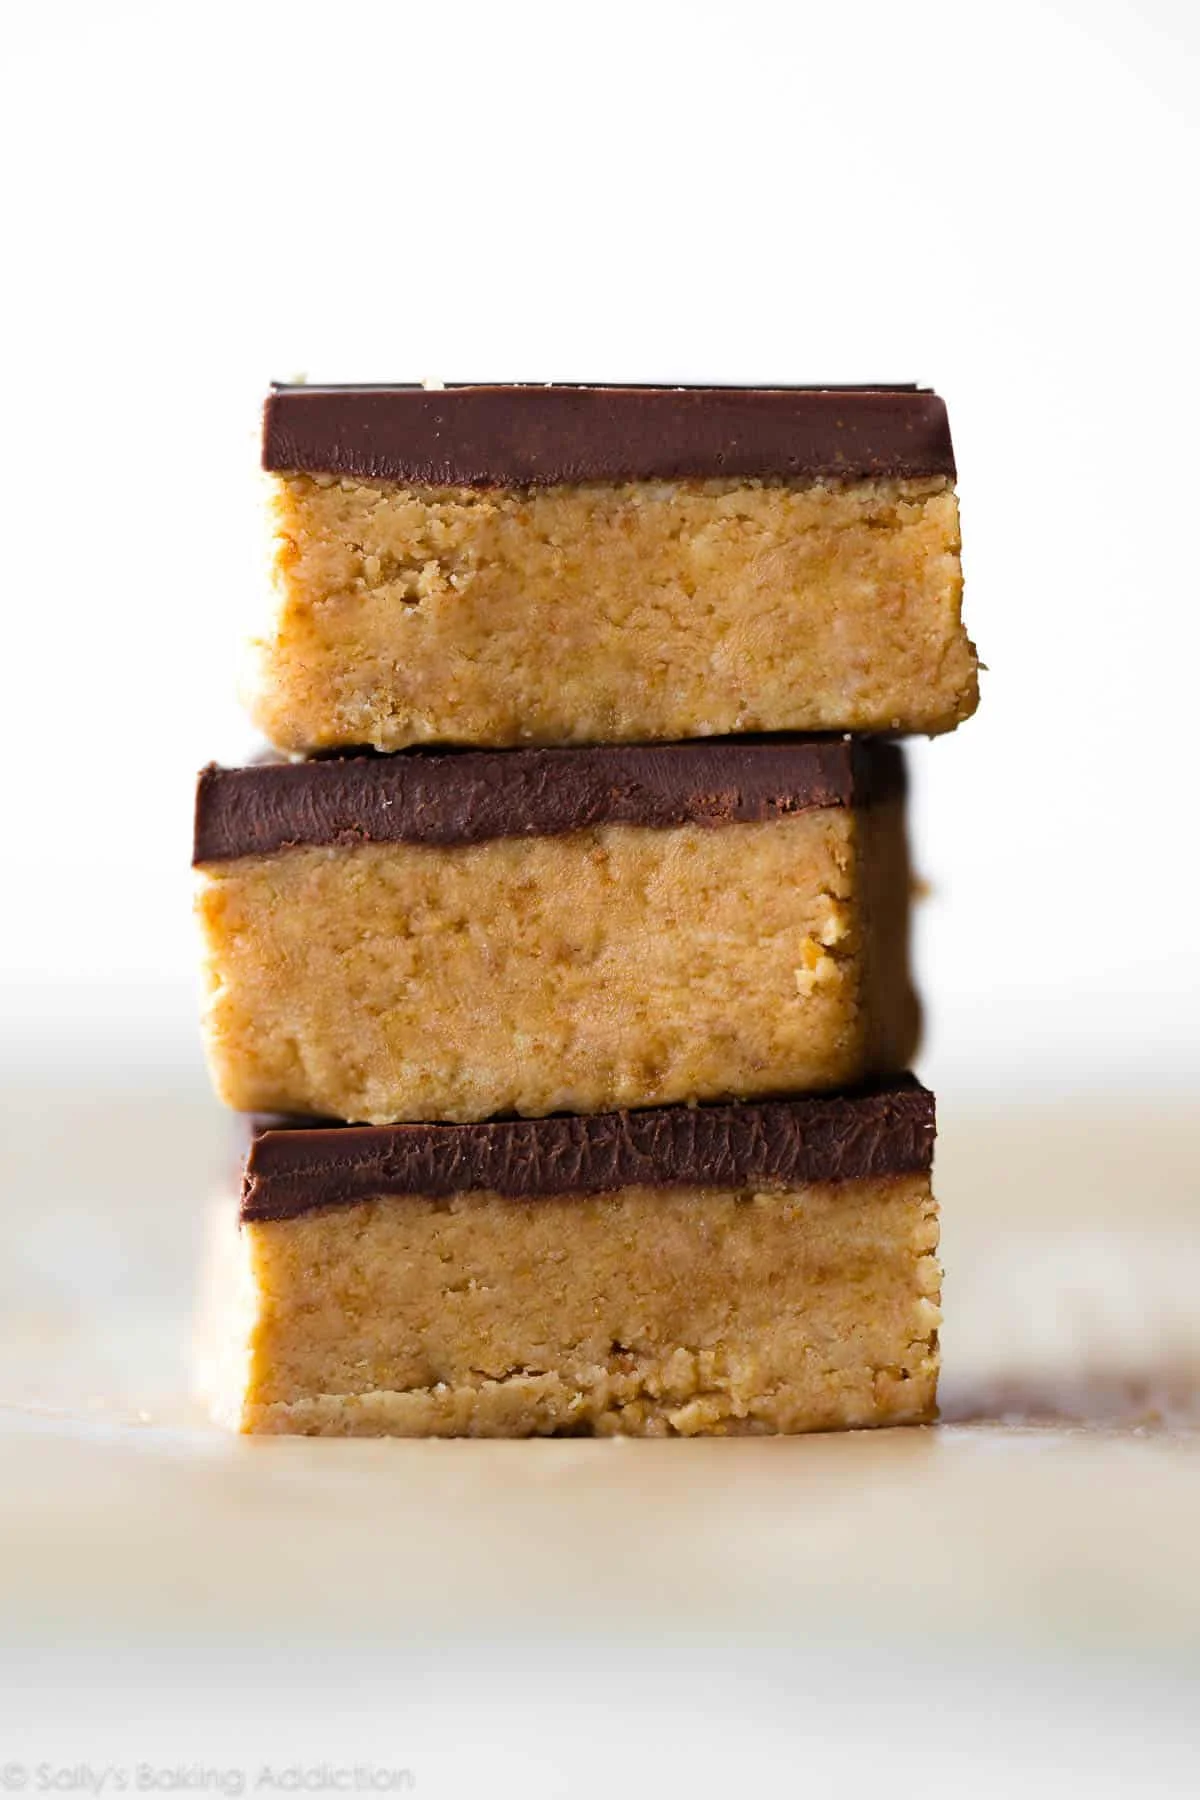
To create these bars, you will need basic ingredients that are most likely available in your pantry. The foundation consists of creamy peanut butter, which is preferred over chunky for achieving a smooth texture. Graham cracker crumbs add a subtle sweetness and structure to the base, so ensure they are finely crushed for better mixing. Butter, whether salted or unsalted, helps bind the dry ingredients while adding richness. Powdered sugar enhances sweetness and helps with the consistency of the mixture. Lastly, semi-sweet chocolate chips or chunks are crucial for the topping, delivering a luscious chocolate layer.
Optional Add-Ins to Elevate Flavor
While the core ingredients are simple, you can introduce extras to personalize the bars. Adding a pinch of sea salt on top can intensify the chocolate and peanut butter flavors. Vanilla extract blends beautifully into the base mixture, imparting subtle warmth. For those who enjoy a hint of texture, chopped nuts or toasted coconut flakes can be folded into the base or sprinkled on the chocolate layer before setting. These additions can create unique variations without complicating the process.
Step-by-Step Guide to Making No-Bake Chocolate Peanut Butter Bars
Preparing the Base Mixture
Start by lining your baking dish with parchment paper, which facilitates easy removal of the bars once set. In a bowl, combine creamy peanut butter and melted butter, mixing them thoroughly. Then, add finely crushed graham cracker crumbs and powdered sugar gradually, stirring until the mixture is evenly combined. Press this mixture firmly and evenly into the lined pan using a spatula to create a smooth, compact base. Ensuring an even layer helps produce uniform bars after slicing.
Layering the Chocolate Topping
Next, melt your chocolate chips gently, either in a microwave or over a double boiler, stirring frequently to avoid scorching. Once melted to a smooth consistency, pour the chocolate evenly over the prepared peanut butter base. Spread it carefully with the back of a spoon or spatula to cover the surface completely. This creates a glossy, firm chocolate topping that contrasts deliciously with the creamy base beneath.
Chilling and Setting Tips
After assembling the bars, refrigerate them for at least one to two hours, allowing the chocolate to set firmly and the flavors to meld. To prevent cracking when cutting, allow the bars to sit at room temperature briefly before slicing. This slight warming softens the chocolate without melting it. Using parchment paper edges to lift the slab makes removal from the pan easier. Chilling is crucial to achieving the perfect texture and clean slices.
Tips for Customizing Your Bars
Nut-Free Alternatives
If you’re catering to those with nut allergies or simply prefer a different flavor profile, substitute peanut butter with sunflower seed butter or soy nut butter. These alternatives maintain the creamy consistency needed for the base while offering safe options for sensitive eaters. Adjust sweetness slightly if needed, as some seed butters carry a different taste intensity. This swap keeps the recipe inclusive without sacrificing its simplicity.
Adding Crunch with Seeds or Nuts
To introduce a delightful crunch, sprinkle chopped nuts such as almonds, pecans, or walnuts into the base mixture before pressing it into the pan. Alternatively, seeds like chia or flax can add texture and nutritional benefits. Another approach is to scatter these crunchy elements on top of the chocolate layer just before chilling. Doing so ensures the bars develop a pleasing bite and extra flavor dimension, making each piece more interesting.
Storing and Serving Suggestions
How to Store for Optimal Freshness
Store the bars in an airtight container to maintain freshness and prevent them from absorbing odors in the fridge. They generally keep well for up to a week when refrigerated. If you want to extend their shelf life, consider freezing the bars individually wrapped in parchment or plastic wrap. Thaw them in the refrigerator before serving to preserve texture and taste. Proper storage ensures you can enjoy these treats over several days without loss of quality.
Creative Serving Ideas and Pairings
Serving no-bake chocolate peanut butter bars can be elevated by pairing them with fresh fruit like strawberries or banana slices, which complement the rich flavors. Warm a bar slightly in the microwave for a gooey experience, pairing it with a scoop of vanilla ice cream to transform the snack into a decadent dessert. For special occasions, garnishing with a drizzle of caramel or a sprinkle of sea salt adds a gourmet touch. These serving suggestions help turn a simple bar into something memorable.

