Understanding Drywall Cracks: Types and Causes
Common Causes of Cracks in Drywall
Drywall cracks often appear due to normal settling of a home’s foundation. Temperature fluctuations cause expansion and contraction, which places stress on drywall surfaces. Moisture problems can also weaken drywall, causing it to crack over time. In some cases, poor installation or substandard materials lead to premature cracking.
Identifying Different Types of Drywall Cracks
Recognizing the nature of cracks helps determine the best repair approach. Hairline cracks are thin and superficial, while wider cracks may indicate structural movement. Stair-step cracks near corners often signal framing issues. Pinpoint cracks might stem from drywall shrinkage. Understanding these variations allows for effective treatment.
Essential Tools and Materials for Drywall Repair
Checklist: What You’ll Need Before Starting
Gathering the right tools ensures a smooth repair process. Typically, you will need joint compound, drywall tape, a putty knife, sanding block, primer, and paint. For larger damages, a drywall patch and wood backing might be necessary. Protecting the work area with plastic or a drop cloth is also recommended to minimize mess.
Tips for Choosing the Right Products
Select joint compound suited to your project size. Quick-set mud is ideal for speed, setting in 5 to 90 minutes depending on the variety chosen. Matching drywall thickness—such as 1/2″ or 5/8″—to the existing wall prevents uneven surfaces. Using fiber mesh tape with quick-set mud enhances durability in the repaired area.
Preparing the Damaged Area
Cleaning and Assessing the Crack
Start by evaluating the extent of the damage. Remove any loose drywall fragments or paint flakes surrounding the crack. This preparation improves adhesion for the patching material. Clean the area with a damp cloth to eliminate dust and debris, allowing for a secure repair surface.
How to Remove Loose Debris and Flaking Paint
Use a putty knife or scraper to gently lift away any flaking paint and crumbling drywall edges. Avoid aggressive removal, which might worsen the damage. Collect debris carefully, then vacuum or wipe the surface. Ensuring a clean base layer helps the joint compound bond effectively.
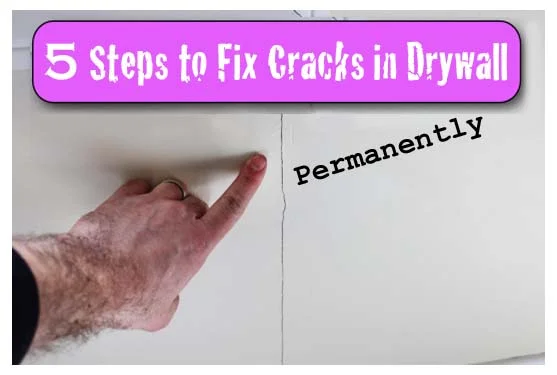
Step-by-Step Process to Fix Cracked Drywall
Step 1: Widening and Cleaning the Crack
Enlarge the crack slightly by scraping a V-shaped groove along its length. This removes weak edges and allows better compound penetration. Clean out any dust or debris in the groove before proceeding. This step creates a stronger foundation for filling the crack.
Step 2: Applying Joint Compound or Patch
Apply the first layer of joint compound or embed a drywall patch on larger holes. Use a metal knife, preferably 10″ or 12″, to spread the compound evenly. For gaps, backfill with compound to firm up the area before taping. Lay fiber mesh tape over the crack for extra reinforcement, then add a coat of quick-set mud on top.
Step 3: Sanding and Smoothing the Surface
After the compound has dried, sand the area with fine-grit sandpaper until smooth. Be cautious not to damage the surrounding wall. Multiple thin coats of mud, quickly applied due to the fast setting time, help achieve a flat surface. Wipe away dust between coats to ensure proper adhesion.
Step 4: Priming and Painting to Finish
Once sanding is complete, apply a primer to seal the repaired spot. This prevents paint from absorbing unevenly and highlights any imperfections. After priming dries, paint to match the surrounding wall color. Using a fan can speed up drying times throughout the process.
Preventing Future Drywall Cracks
Maintenance Tips for Long-Lasting Walls
Regularly inspect walls for early signs of cracking. Keep humidity levels consistent to avoid drywall expansion and contraction. Using adequate wood backing when installing or repairing drywall minimizes movement that causes cracks. Proper sealing of seams and joints extends the longevity of repairs.
Addressing Structural or Moisture Issues Early
Cracks may indicate underlying problems such as foundation shifts or leaks. Addressing these issues promptly prevents persistent damage. Repair any water leaks and ensure proper ventilation. Consulting a professional for structural assessments can save costly repairs in the long run.

