Why Choose a DIY Kitchen Backsplash?
The Benefits of a DIY Approach
Imagine Sarah, a young homeowner with a tight budget and a passion for personalization. Instead of hiring a contractor to install her kitchen backsplash, she chose to tackle the project herself. The results were not only cost-effective but also deeply satisfying. A DIY backsplash allows you to inject your unique style into your kitchen while learning new skills along the way.
Beyond personal fulfillment, a DIY project offers flexibility. You can work at your own pace, experiment with different materials, and avoid the scheduling headaches that sometimes come with professional installations. For many homeowners, this hands-on approach turns a simple home upgrade into a memorable experience.
Cost Comparison: DIY vs. Professional Installation
Take Mark and Jenny as a practical example. When they priced professional tile installation, estimates quickly added up to $1,200 for a modest kitchen area. By purchasing peel-and-stick tiles and handling the project themselves over a weekend, they spent under $150 and saved over $1,000.
Labor costs typically make up a significant portion of home remodeling bills. Choosing DIY reduces these, but it requires some upfront investment in tools and time. Still, the ability to shop for budget-friendly materials and plan the project to fit your timeline often leads to both financial and creative wins.
Creative and Affordable Materials for Backsplashes
Peel-and-Stick Tiles: Easy and Budget-Friendly
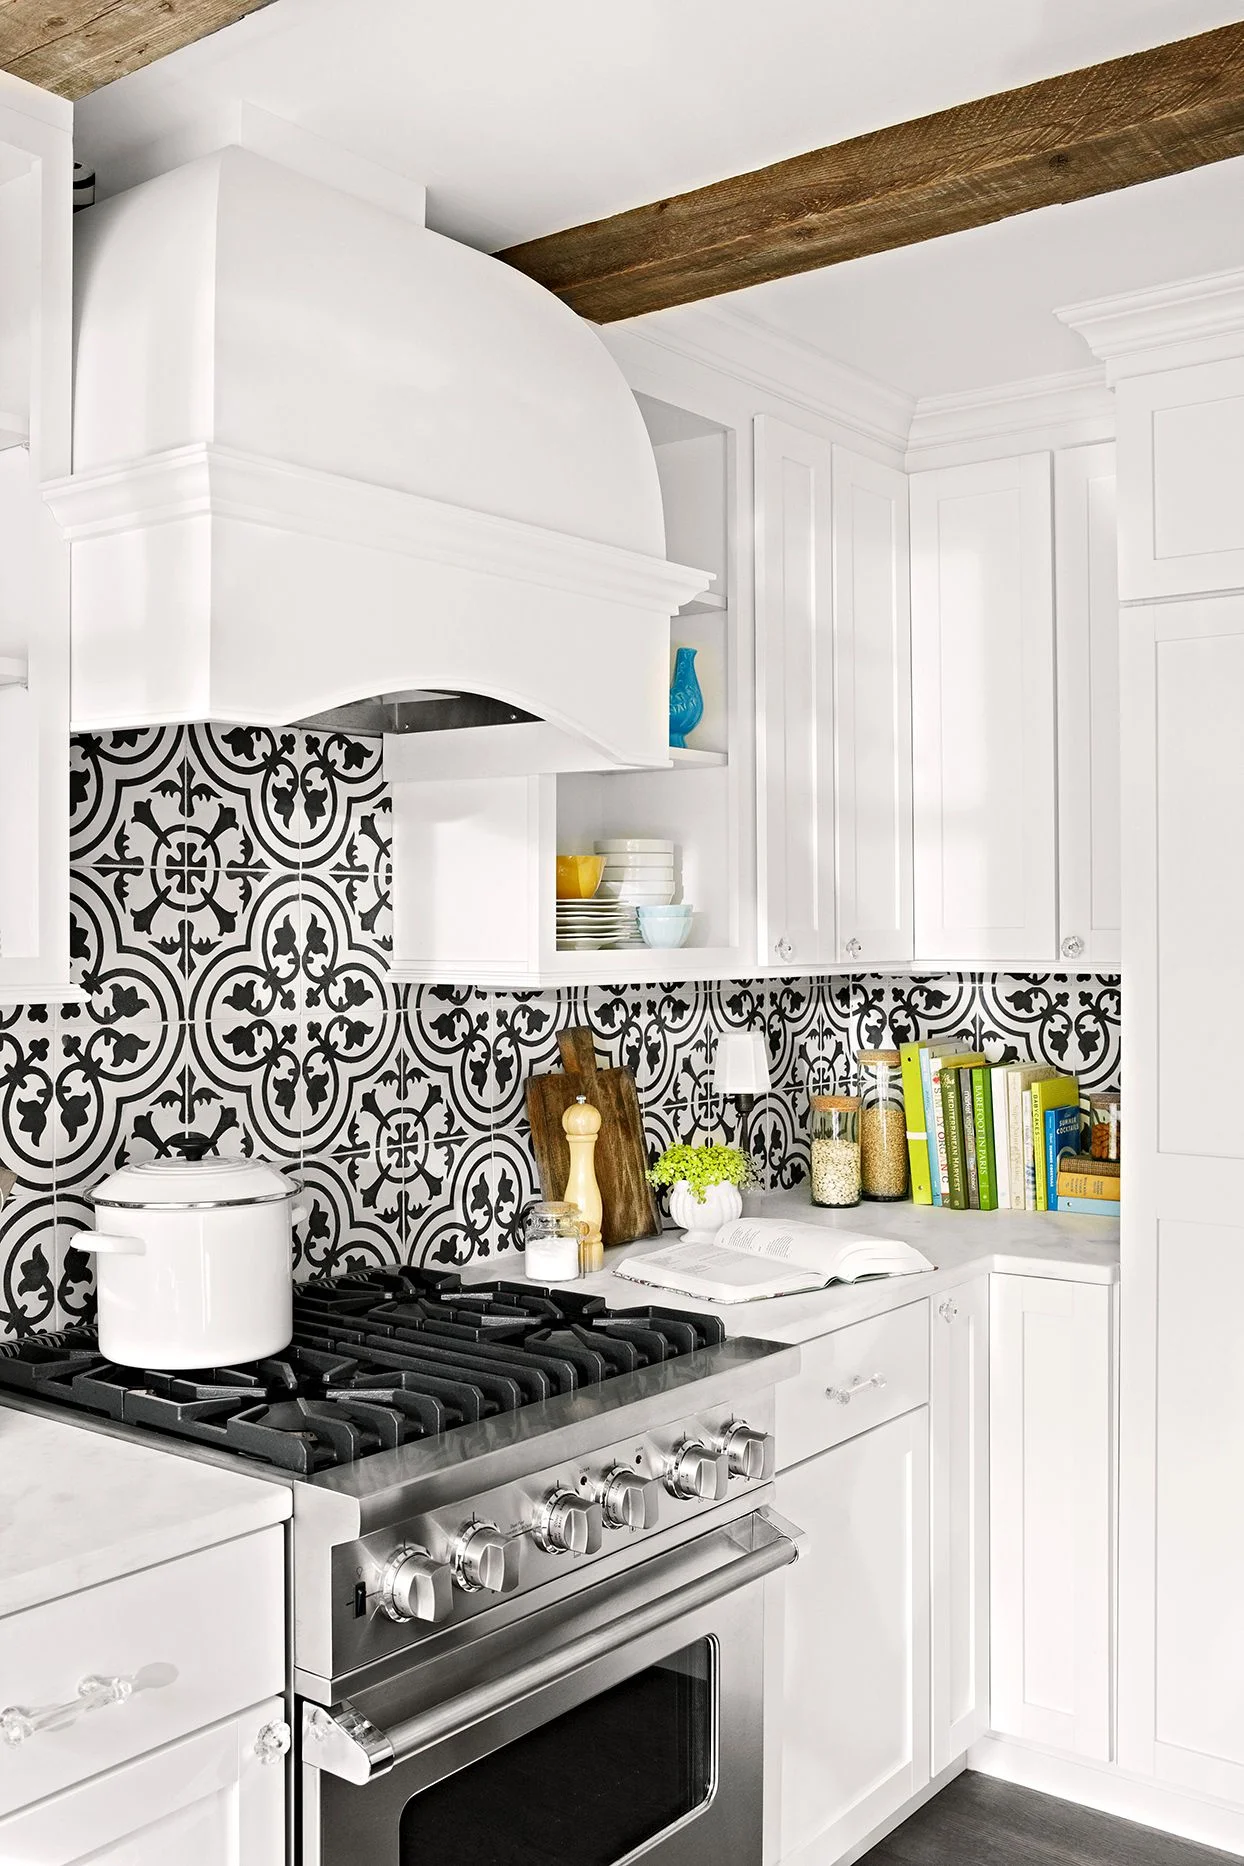
One of the most straightforward options for a DIY backsplash is peel-and-stick tiles. They come in a variety of patterns—from classic subway to modern geometric—and require no grout. This means you avoid the mess and skill needed for traditional tile installation. For example, Lisa transformed her plain kitchen in a single afternoon by applying peel-and-stick tiles with a faux marble finish, instantly elevating the space.
Because these tiles are lightweight and easy to cut, they’re perfect for renters or those who want a temporary update without damage. Just ensure the wall is clean and dry to maximize adhesion.
Recycled Materials: Eco-Friendly and Stylish Options
Using recycled materials can turn your backsplash into a conversation piece. Old wine corks, reclaimed wood, and even broken ceramics from thrifted plates offer charming, one-of-a-kind textures. Consider how Tom crafted a rustic backsplash by gluing sanded, varnished pallet wood boards behind his stove, giving his kitchen a warm farmhouse feel without the price tag of new materials.
Not only do recycled ideas save money, but they also reduce waste, contributing positively to the environment. However, keep in mind that some materials may need treatment for durability, especially in a moisture-prone kitchen area.
Painted Backsplashes: Customizable and Inexpensive
Painting a backsplash is a surprisingly affordable and highly customizable solution. Whether you choose to paint directly on tile or use plywood boards cut to size, this method allows unique patterns and color combinations. Jenny, who wanted a vintage Parisian vibe, used stencils to create intricate designs on waterproof wallpaper, protecting her walls from splashes while adding French charm.
Another approach is to paint beaded-board tiles for a seamless look with cabinetry or a bold contrast. The key is selecting waterproof paints and sealants to endure kitchen humidity and spills.
Step-by-Step Guide to Installing Your Own Backsplash
Preparation: Tools and Surface Cleaning
Begin by thoroughly cleaning your backsplash area, removing grease, dirt, and existing backsplash remnants. A smooth, dry surface ensures better adhesion for peel-and-stick tiles or paint. Gather essential tools such as a utility knife, measuring tape, level, and adhesive if required. Having cardboard templates handy can help plan complex tile patterns, especially when working with tape or mosaic tiles.
For wood installations, have the boards cut to size at your local hardware store to make the process smoother, especially if you lack power tools.
Installation Tips for Different Materials
Peel-and-stick tiles require patience and gentle pressure to avoid air bubbles. Start from the center and work outward to maintain symmetry. Mosaic tiles on mesh backings can be aligned quickly, but make sure to remove the mesh if your grout choice demands it. When painting, use waterproof wallpaper or paint over plywood shiplap boards that you’ve cut and prepped. Self-adhesive wall panels may need extra securing with nails or staples on certain walls.
Innovative layouts enhance appeal: arranging subway tiles diagonally in a herringbone pattern adds a modern twist without extra cost. For brick veneer backsplashes, always install a sturdy wood or metal backing to maintain durability.
Sealing and Finishing Touches
Sealing your backsplash protects your work and prolongs its lifespan. Use a grout sealer for traditional tiles or a waterproof clear coat for painted surfaces. If you used wallpaper, verify it’s labeled as waterproof or consider an additional sealant layer. Finishing touches like trim strips or caulking around edges help achieve a polished, professional look.
Inspiration: Stylish Backsplash Ideas Under $100
Geometric Patterns for a Modern Look
Picture a small apartment kitchen where the owner uses peel-and-stick tiles arranged in a bold diamond pattern. The geometric shapes bring a sleek, contemporary vibe without breaking the bank. For those wanting even more creativity, combining inexpensive stone or ceramic tiles with scattered glass tiles introduces depth and sparkle. This mix-and-match approach balances style and budget effectively.
Rustic and Farmhouse Styles with Affordable Materials
Sarah’s farmhouse kitchen features painted plywood shiplap boards that she cut and nailed herself. The whitewashed finish complements her rustic decor and offers texture usually reserved for pricier options. Another option: vintage maps applied with adhesive sprucing up a backsplash area, giving an Old World charm that’s both whimsical and inexpensive.
Color Pop: Using Bold Colors to Transform Your Space
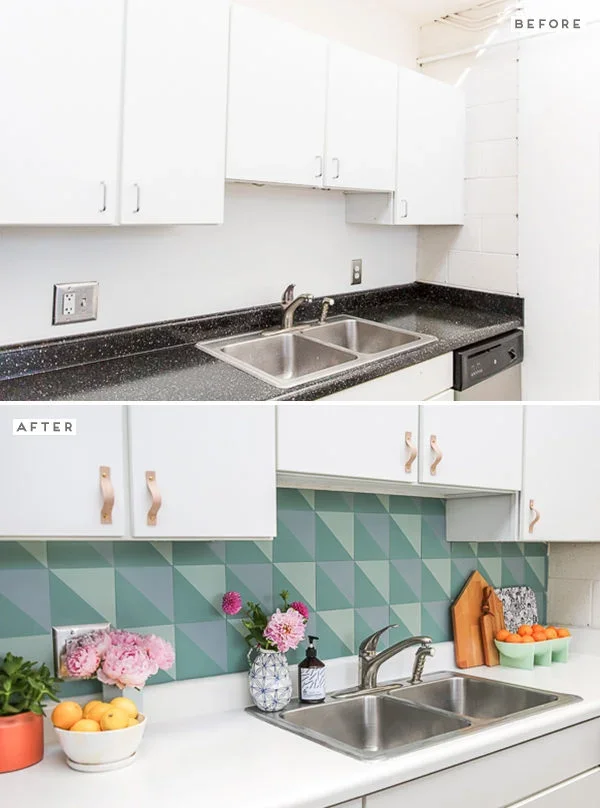
Don’t underestimate the power of color. For instance, a splash of turquoise peel-and-stick tiles behind a neutral countertop instantly energized the kitchen for under $80. Painting beaded-board tiles matching cabinetry or contrasting colors also promises a vibrant makeover. These affordable pops of color create a focal point and enliven kitchens without any major renovation.
Maintaining and Updating Your DIY Backsplash
Cleaning Tips for Longevity
Regular cleaning extends the life of your backsplash. Use mild soap and warm water, avoiding abrasive cleaners that can damage surfaces. Peel-and-stick tiles benefit from gentle wiping with a soft cloth, while painted surfaces might need occasional resealing to maintain waterproof integrity.
In kitchens with heavy cooking, wiping splatters promptly prevents stains and residue buildup that can be tougher to remove later.
How to Easily Refresh Your Backsplash Over Time
One of the perks of a DIY backsplash is its easy refresh potential. Peel-and-stick tiles can be replaced or rearranged without demolition. Painted backsplashes can be touched up or redesigned with new colors and patterns. In some cases, layering removable wallpaper over existing materials updates the look with minimal effort.
Keeping materials simple and the installation reversible allows your kitchen to evolve with your style, without the expense or hassle of a full remodel.

