

Introduction to Drywall Repair
Common Causes of Cracked Drywall
Cracked drywall can quickly become an eyesore in your living room, detracting from the comfort and aesthetics of your space. These cracks often develop due to natural settling of the home, fluctuations in temperature, or changes in humidity levels. Structural shifts, poor drywall installation, or even minor impact damage can also cause cracks to appear. Understanding these root causes helps in addressing the issue effectively rather than simply masking it.
Why Timely Repairs Matter
Ignoring drywall cracks may lead to larger problems down the line. Small cracks can widen and allow moisture to seep in, inviting mold growth or further weakening the wall’s integrity. Prompt repairs not only restore the visual appeal of your living room but also prevent costly damage that might require extensive renovations. Timely intervention preserves the safety and value of your home.
Tools and Materials Needed for Repair
Essential Tools Checklist
Before beginning the repair, having the right tools on hand is crucial. Key items include a putty knife for applying joint compound, sandpaper or a sanding block for smoothing surfaces, and a utility knife for cleaning and widening cracks. Protective gear like gloves and goggles ensure safety during sanding and scraping. Preparing your workspace with drop cloths prevents damage to furniture and flooring.
Recommended Materials for Best Results
Choosing quality materials impacts the durability and finish of your repair. Use a reliable joint compound or filler designed for drywall to fill cracks. For textured walls, it helps to consult a local paint retailer about specialized texture kits that match your existing wall patterns. Applying a high-quality primer like Benjamin Moore Fresh Start after repairs ensures proper adhesion of paint and a seamless look.
Step 1: Preparing the Area
Clearing and Protecting Your Living Room Space
Preparation is key to a smooth drywall repair process. Begin by moving furniture away from the affected wall and covering the floor with a drop cloth to catch dust and debris. Remove any wall decorations or fixtures nearby to give yourself ample room to work. Cleaning the area around the crack by removing dust and loose particles is essential because dirt can interfere with the joint compound’s ability to bond effectively.
Safety Precautions to Keep in Mind
When repairing drywall, dust and small debris become airborne. Wearing protective goggles and a dust mask safeguards your eyes and lungs. If the repair requires sanding, perform it in a well-ventilated area or consider using a vacuum sander attachment to minimize dust spread. Taking these precautions maintains your health and keeps your living room clean.
Step 2: Assessing the Damage
Types of Drywall Cracks
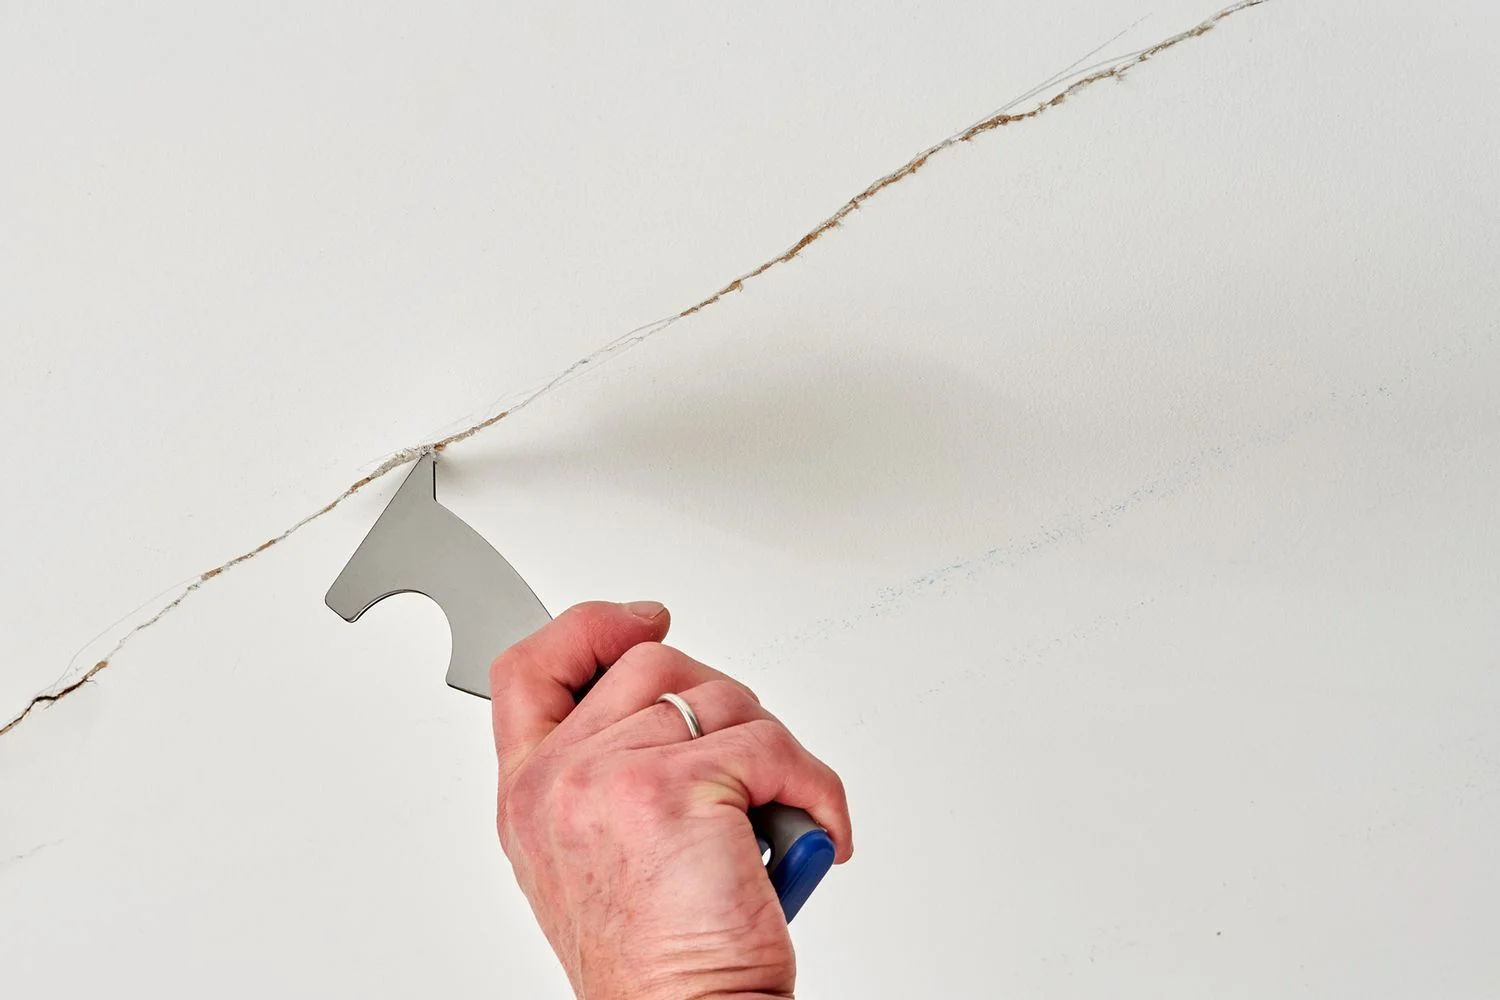
Cracks in drywall vary in size and pattern, and recognizing their type helps determine the appropriate repair method. Hairline cracks usually form from normal settling and can be easily filled. Larger cracks or those that follow a zigzag pattern may indicate shifting in the structure and require more extensive attention. Surface cracks on ceilings or near corners often result from stress and should be widened slightly before repair to ensure no loose material remains.
When to Repair vs. Replace
Minor cracks typically call for repair, but extensive damage such as deep gouges, large holes, or water-compromised drywall may necessitate replacement. If the drywall feels soft or crumbles when touched, it is best to remove and replace the affected section entirely. This ensures the structural integrity of your wall and prevents recurring problems.
Step 3: Repair Process
Cleaning and Smoothing the Crack
Start by using a utility knife to widen the crack slightly, which removes any loose drywall and creates a clean edge for applying filler. This step is especially important for ceiling cracks, where the material tends to be more fragile. After trimming, vacuum or brush away all dust. A clean, dust-free surface allows the joint compound to bond securely.
Applying Joint Compound Correctly
Use a putty knife to apply a thin layer of joint compound over the crack, pressing firmly to fill it completely. For deeper cracks, multiple thin layers may be necessary rather than one thick application. Allow each layer to dry fully before proceeding to the next. This layering approach prevents cracking or shrinking of the filler over time.
Sanding and Reapplying Compound
Once the final layer dries, sand the area gently to achieve a smooth, flush surface with the surrounding wall. Avoid excessive sanding, which can damage the repair. If imperfections remain, apply an additional light coat of joint compound and sand again after drying. Taking the time to do this well ensures the repaired area becomes virtually invisible once painted.
Step 4: Finishing Touches
Priming the Repaired Area
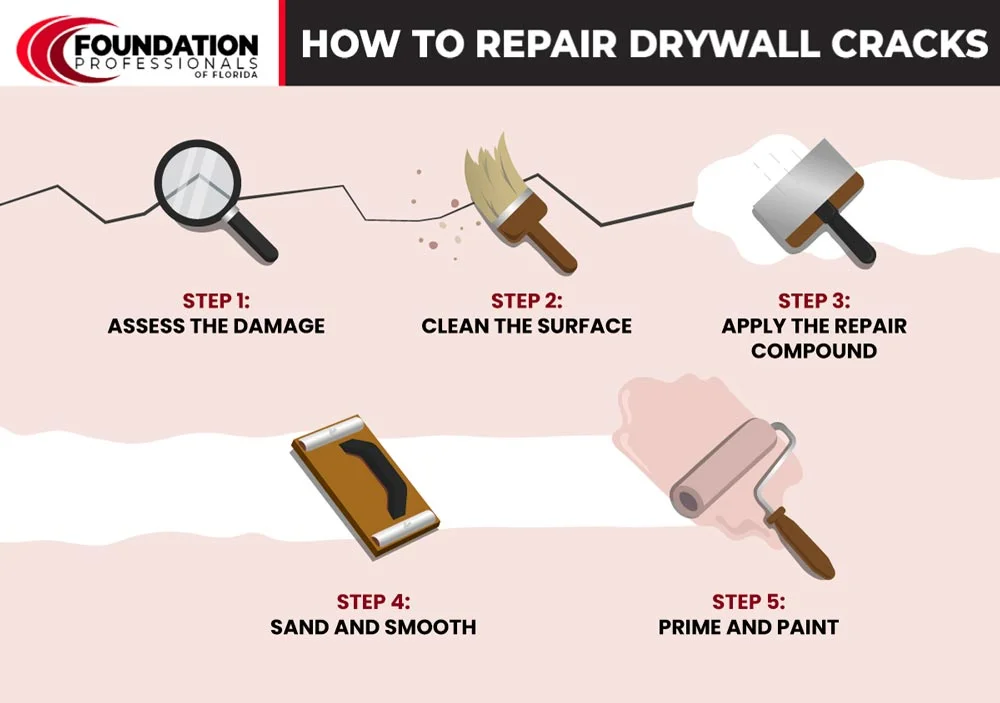
Before painting, prime the repaired section with a quality primer to seal the joint compound and promote even paint absorption. This step prevents discoloration and helps the new paint blend perfectly with the existing wall color. A primer such as Benjamin Moore Fresh Start is ideal for this purpose.
Painting to Match Surrounding Walls
After the primer has dried completely, apply paint that matches your living room walls. If needed, repaint the entire wall for the best uniform effect. Using the same type and finish of paint originally applied ensures consistency and a professional appearance.
Tips for Preventing Future Drywall Cracks
Maintaining Humidity Levels
Fluctuations in indoor humidity cause drywall to expand and contract, leading to cracks. Using a humidifier or dehumidifier as needed keeps moisture levels stable, minimizing stress on your walls. Aim for a consistent indoor humidity range between 30% and 50% to protect drywall and maintain comfort.
Structural Checks and Home Maintenance
Regularly inspect your home for structural issues such as foundation settling or roof leaks that can affect drywall integrity. Addressing these problems early prevents cracks from forming or worsening. Routine maintenance, including sealing gaps and repairing water damage, strengthens your home’s envelope and prolongs the life of your drywall surfaces.


