

Understanding the Challenge: Mold and Soap Scum on Bathroom Tiles
Why Mold and Soap Scum Build Up in Bathrooms
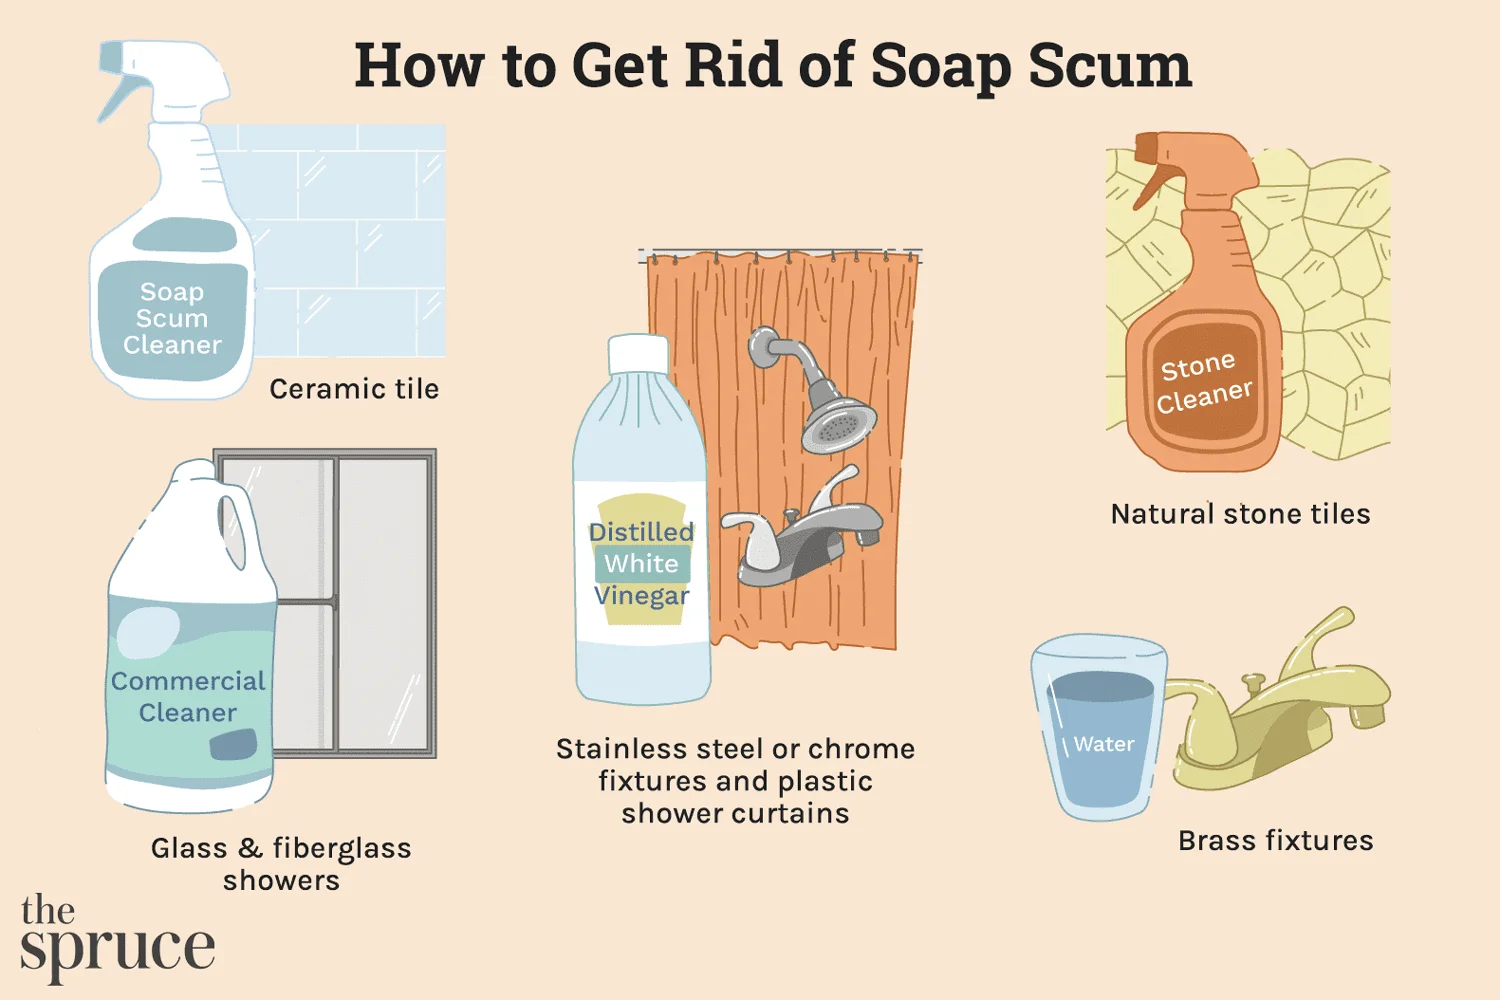
Bathrooms provide a warm, damp environment ideal for mold growth and soap scum accumulation. Frequent exposure to water, combined with soap residues, hard water minerals, and poor ventilation, encourages these stubborn deposits to form on bathroom tiles. Over time, mold colonies spread in grout lines, while soap scum creates a dull film that dulls tile surfaces.
Health Risks and Damage Caused by Mold
Mold in bathrooms is more than just an eyesore. It poses health risks including allergies, respiratory issues, and skin irritation. Prolonged mold presence can also compromise the integrity of grout and tiles, leading to costly repairs. Identifying and addressing mold early is crucial to maintaining a safe, healthy bathroom environment.
Preparation Before Deep Cleaning
Essential Tools and Materials Needed
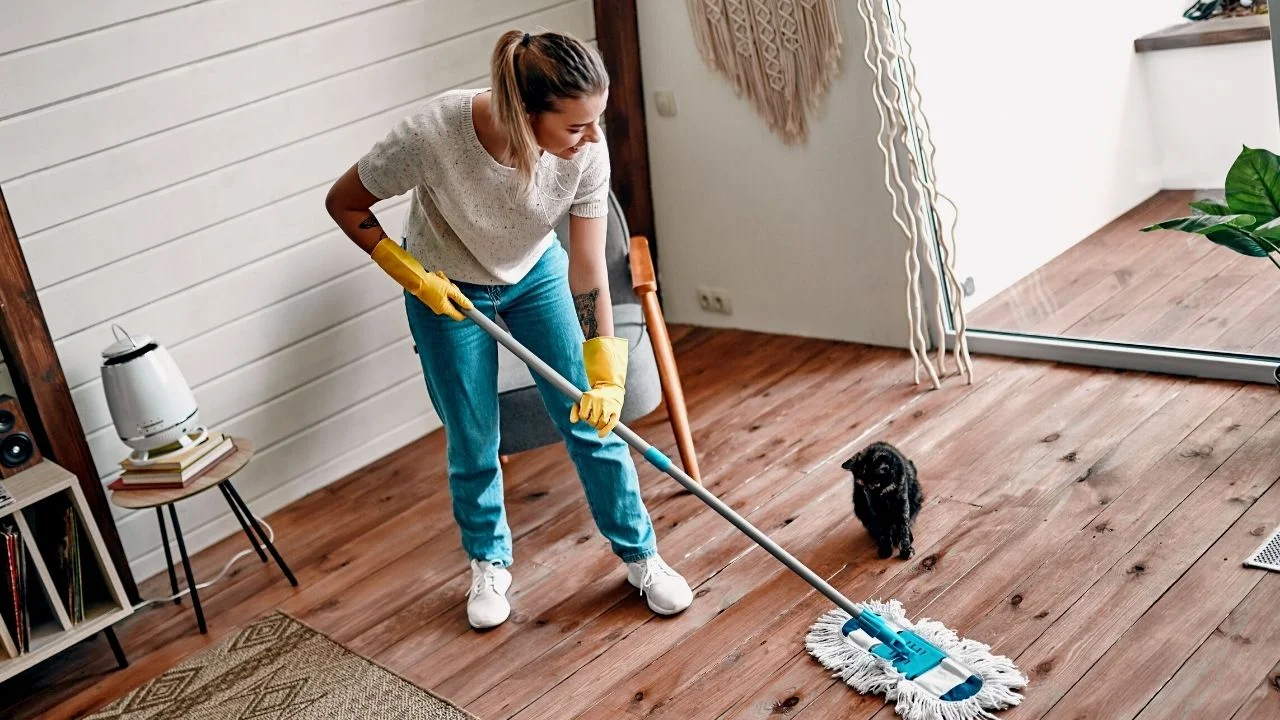
Before deep cleaning, gather the right supplies to work efficiently and safely. You will need scrub brushes with stiff but non-abrasive bristles, microfiber cloths for drying, a scrubbing dish wand, and natural cleaning agents such as baking soda and lemon. Avoid generic abrasive cleaners that can scratch tile surfaces. Having a spray bottle for homemade solutions and protective gloves is also recommended.
Safety Precautions to Consider
Ensure the bathroom is well-ventilated during cleaning, either by opening windows or using an exhaust fan. Wear gloves to protect your skin from irritants and consider eye protection when handling stronger cleaning agents. Avoid mixing household chemicals to prevent harmful fumes, and never use bleach or vinegar-based solutions on grout or delicate tile glazes as they can cause damage.
Effective DIY Cleaning Hacks
Natural Solutions: Vinegar, Baking Soda, and Lemon
While vinegar is a common natural cleaner, it should be used cautiously or avoided on tiles and grout due to its acidity. Baking soda acts as a gentle abrasive that lifts soap scum without harming surfaces. Lemon juice, with its mild acidity and fresh scent, can brighten tiles when combined with baking soda to form a paste. These ingredients provide eco-friendly options to tackle grime gently.
Homemade Scrubbing Pastes and Sprays
Create effective cleaning pastes by mixing baking soda with a small amount of water or lemon juice to form a thick consistency. Apply this to affected areas and scrub lightly. For sprays, combine water with a few drops of essential oils and mild detergent for a refreshing, safe solution suitable for weekly maintenance. These homemade mixtures avoid harsh chemicals while maintaining cleaning power.
Using Steam Cleaners and Other Gadgets
Steam cleaners are highly effective for penetrative cleaning, loosening mold and soap scum without chemicals. Their heat kills mold spores and softens buildup, making it easier to wipe away. Regular use of a squeegee after showers also minimizes water retention on tiles, preventing soap scum and hard water stains from forming.
Step-by-Step Deep Cleaning Process
Initial Tile Surface Treatment
Start by rinsing tiles with warm water to remove loose debris. Apply your chosen paste or spray and let it sit for several minutes to break down grime. Use a non-abrasive scrub brush or dish wand to work the cleaner into grout lines and tile surfaces, focusing on visibly dirty areas.
Removing Stubborn Mold Patches
Treat mold patches with a baking soda paste or a specialized mold cleaner that is safe for tile and grout. Scrub thoroughly, paying attention to grout joints where mold thrives. Rinse tiles well and dry immediately with a microfiber cloth to prevent moisture retention that promotes mold growth.
Banishing Soap Scum for a Spotless Shine
Soap scum can be stubborn, but consistent scrubbing with baking soda pastes and rinsing with warm water loosens deposits. Follow up with drying to avoid water stains. The use of steam cleaning helps lift residue efficiently. Repeat treatments may be necessary for heavy buildup.
Post-Cleaning Care and Prevention Tips
Daily Habits to Avoid Mold Return
Preventing mold and soap scum is easier than removing them. Rinse or use a squeegee on shower walls immediately after each use to reduce moisture. Regularly dry tiles with a microfiber cloth and keep the bathroom ventilated. Keep a scrubbing dish wand filled with a multi-purpose cleaner handy for quick touch-ups.
Sealing Tiles and Grout to Preserve Cleanliness
Applying a sealant to grout and tiles after thorough cleaning creates a protective barrier. This prevents water penetration and mold growth, extending the life of your tile surfaces. Sealants should be reapplied as recommended by the product to maintain their effectiveness.
Bonus Section: Eco-Friendly Cleaning Alternatives
Why Choose Eco-Friendly Over Chemical Cleaners
Eco-friendly cleaners reduce exposure to harsh chemicals that can harm your health and damage tile surfaces. They are often biodegradable, safer for the environment, and help maintain the aesthetic and structural integrity of your bathroom tiles over time.
Recipes for Homemade Eco Cleaning Agents
A simple and effective cleaner can be made by mixing baking soda with water to create a scrubbing paste. Another option is a spray made from water, mild dish soap, and a few drops of tea tree oil for its antimicrobial properties. These recipes offer safe, sustainable options for routine maintenance.


