

Understanding the Basics of Grilling Chicken
Why Chicken Dries Out on the Grill
Grilling chicken is a popular cooking method that offers delicious smoky flavors, but it’s also notorious for drying out the meat if not done correctly. The primary reason chicken dries out is due to its low fat content, especially in chicken breasts. Without proper technique, the heat can quickly cause moisture to evaporate, leaving the chicken tough and unappealing. Overcooking and high direct heat are common culprits, as they force the water inside the meat to escape prematurely. Understanding how moisture evaporates during grilling helps you control these factors effectively.
Essential Tools and Equipment for Perfect Grilling
To prevent dryness and grill chicken perfectly, having the right tools is a must. A reliable grill, whether gas or charcoal, is the foundation. However, other equipment such as a meat thermometer is invaluable for monitoring the internal temperature, ensuring doneness without guessing. Additionally, tools like tongs for gentle flipping, a grill brush to keep the grates clean, and a meat mallet to even out chicken breasts all contribute to a better grilling experience. Using a covering lid on your grill helps maintain consistent heat and creates convection heat that cooks evenly on the inside.
Preparing Your Chicken for the Grill
Choosing the Right Cut of Chicken
The choice of chicken cut influences how moist your grilled chicken will be. While boneless, skinless breasts are popular and cook quickly, they can dry out faster than thighs which contain more fat and connective tissue to retain moisture. For beginners wanting a juicy outcome, chicken thighs or bone-in breasts might be easier options. If you prefer breasts, consider pounding them to an even thickness to avoid uneven cooking, which can cause thinner parts to dry out before thicker parts are finished.
Marinades and Brines: Techniques to Retain Moisture
Marinating or brining chicken before grilling is an effective way to boost moisture retention and add flavor. A brine solution usually consists of salt, water, and sometimes sugar, which helps the meat absorb and hold onto liquid, making it juicier when cooked. Meanwhile, marinades often contain acidic ingredients like lemon juice or vinegar, which tenderize the meat while imparting flavor. Timing is critical — too short may have minimal effect, while too long can alter texture. Preparing the marinade and chicken ahead of time ensures flavors have time to permeate without the rush.
Proper Seasoning Tips
Seasoning is more than adding salt and pepper. Dry rubs made from herbs, spices, and zest such as finely grated lemon peel can elevate the taste and keep the chicken flavorful throughout grilling. When zesting citrus, it’s essential to avoid the bitter white pith beneath the skin. Applying seasoning evenly and allowing the chicken to sit before grilling gives the flavors opportunity to integrate. This step is key to making grilled chicken taste as great as it looks.
Mastering the Grilling Process
Setting Up the Grill for Optimal Heat
Preparing the grill properly is foundational to keeping chicken juicy. Start by cleaning the grates to prevent sticking and uneven cooking. Preheat the grill to medium-high for searing, then adjust as needed. Using a two-zone setup, where one side is hotter (direct heat) and the other cooler (indirect heat), allows flexibility in cooking. Covering the grill helps circulate heat evenly, mimicking an oven’s convection, which cooks the chicken through without charring the exterior prematurely.
Direct vs. Indirect Heat: When to Use Each Method
Grilling chicken perfectly involves a balance between direct and indirect heat. Begin with direct heat to sear the chicken, creating a flavorful crust by caramelizing the surface. After achieving a good sear, move the chicken to indirect heat to finish cooking gently through the inside. This two-step method significantly reduces the risk of drying out since the intense initial temperature seals juices inside, while the slower cooking phase ensures thorough doneness without burning.
Timing and Temperature Guidelines for Juicy Chicken
Paying attention to the timing and internal temperature is critical. Chicken breasts generally take about 6-8 minutes per side on medium heat, but these times can vary. The best practice is to monitor the internal temperature with a meat thermometer rather than relying on time alone. The USDA recommends an internal temperature of 165°F (74°C) for safety. Using the thermometer at the thickest part helps avoid under- or overcooking. Remember that chicken will continue to cook slightly during resting, so pulling it off a few degrees early is smart.
Advanced Tips for Juicy Grilled Chicken
Using Thermometers for Perfect Doneness
A meat thermometer is your most reliable tool for ensuring juiciness. Insert it into the thickest part of the chicken breast without touching bone. Watching the temperature rise prevents guessing and overcooking. Bringing the chicken to an exact internal temperature ensures it’s safe to eat but still tender and moist. Digital instant-read thermometers are especially handy for quick checks without lifting the lid often, thus maintaining stable grill temperature.
Resting the Chicken: Why and How Long
Resting grilled chicken after cooking is often overlooked but crucial for juiciness. When removed from heat, the juices inside redistribute from the center to the outer fibers instead of spilling out. Rest the chicken, loosely covered, for 5-10 minutes before slicing or serving. During this time, the internal temperature may rise an additional 5-10 degrees, which completes cooking gently and locks in moisture. Skipping this step causes the juices to leak immediately, drying out the meat.
Common Mistakes and How to Avoid Them
Overcooking and How to Prevent It
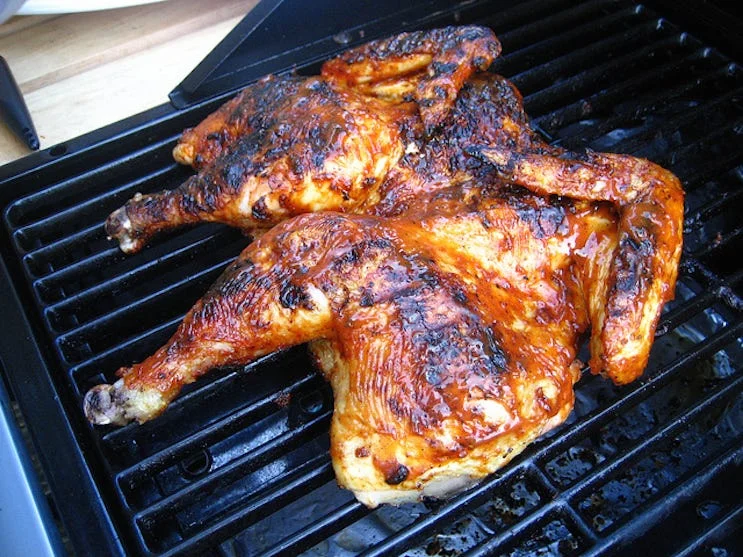
One of the biggest errors when grilling chicken is overcooking. The low fat content causes it to dry out quickly once past the ideal temperature. Prevention relies on monitoring temperature carefully and avoiding rushing the cooking process. Using indirect heat after searing, checking the chicken frequently, and pulling it off the grill a few degrees before the target temperature mitigates dryness. Pounding chicken breasts also helps cook evenly and reduces the risk of overcooking thinner edges.
Flare-Ups and Their Impact on Moisture
Flare-ups occur when fat drips onto the flames, causing sudden bursts of high heat. These can char the chicken excessively and dry out the surface while leaving inside undercooked. To control flare-ups, trim excess fat from the chicken beforehand and keep the grill lid closed to regulate oxygen flow. If flare-ups happen, move chicken to indirect heat temporarily. Deliberate control of flare-ups ensures even cooking and moisture retention.
Bonus: Flavor Enhancements and Presentation
Adding Smoke and Additional Flavor Layers
For an extra depth of flavor, consider adding wood chips or chunks to your charcoal grill or smoker box on gas grills. Woods like hickory, apple, or mesquite impart distinct smoky notes that elevate grilled chicken. Brushing on sauces such as teriyaki about two minutes before finishing creates a delicious glaze that caramelizes without burning. These additional layers of flavor engage the senses beyond just moisture and texture, making your grilled chicken stand out.
Serving Suggestions for Juicy Grilled Chicken
Presentation enhances the enjoyment of juicy grilled chicken. Slice chicken breasts against the grain to maximize tenderness and arrange them attractively on a platter. Pair with vibrant sides like fresh salads, grilled vegetables, or citrus-based salsas to complement the smoky richness. Leftover grilled chicken can be stored in airtight containers in the fridge for up to three days and repurposed in salads, sandwiches, or pastas, making your grilling efforts go further.


