Understanding the Basics of Gluten-Free Baking
What Makes a Pie Crust Gluten-Free?
Baking a gluten-free pie crust involves more than simply omitting wheat flour. Gluten provides the elasticity and structure to traditional doughs, so when you’re working gluten-free, you need to substitute it with ingredients that replicate those qualities without compromising texture. Many gluten-free baking recipes achieve this by combining different flours, starches, and sometimes additives that help bind the dough together.
In gluten-free pumpkin pie, the crust often becomes the star challenge. You want it flaky, tender, and sturdy enough to hold the rich filling. Thankfully, using a blend of gluten-free ingredients such as crushed gluten-free cereal and gluten-free Bisquick can create that perfect base. It’s also essential to handle the dough carefully since it lacks the stretchiness of gluten-based doughs.
Essential Gluten-Free Ingredients for Pumpkin Pie
To make your pumpkin pie truly gluten-free, selecting the right ingredients is key. A great pie crust might include finely crushed gluten-free cinnamon Chex cereal combined with gluten-free Bisquick. These provide both texture and a subtle spice that complements the pumpkin filling.
Butter is a crucial addition to dough, but for the best results, it should be chilled or even frozen in small pieces before mixing. This helps create pockets of fat that give the crust that flaky quality. Adding a splash of white or rice vinegar also helps improve flavor and texture, while a touch of sour cream can bring stability to the dough and encourage browning as it bakes.
Choosing the Perfect Pumpkin for Your Pie
Fresh vs. Canned Pumpkin: Pros and Cons
Deciding between fresh and canned pumpkin ultimately depends on your goals and time constraints. Fresh pumpkin has a vibrant flavor and texture but requires preparation, including roasting, peeling, and pureeing. This can add authenticity to your pie and allow you to control moisture content.
On the other hand, canned pumpkin is convenient, consistent, and readily available, making it a popular choice for many home bakers. If you use canned pumpkin, look for varieties labeled “100% pumpkin” without additives like sugar or spices, so you have full control over the final flavor.
Spice Blends That Enhance Pumpkin Flavor
The magic of pumpkin pie often lies in its spice blend. Traditional combinations of cinnamon, nutmeg, ginger, and cloves create that iconic warm flavor. Experimenting with the ratios can yield a pie customized to your taste—whether you prefer a bit more cinnamon warmth or a sharper ginger bite.
Using freshly ground spices will give a brighter, more vibrant note compared to pre-ground options. Remember, the goal is to complement the pumpkin rather than overpower it. Even a hint of vanilla extract adds depth and rounds off the spices beautifully.
Step-By-Step Guide to Making the Pie Crust
Recipe for a Flaky Gluten-Free Crust
Start by crushing gluten-free cinnamon Chex cereal in a food processor until you have about 2 cups of fine crumbs. This forms a flavorful base that balances texture and taste. Next, mix these crumbs with gluten-free Bisquick and chopped, frozen butter until the mixture feels like thick sand. Incorporating the butter in small, frozen pieces is essential to help make the crust flaky.
Add ice water gradually, mixing by hand until the dough forms a compact ball. Refrigerate this for a while to let the ingredients meld, which also makes the dough easier to handle later on. Using gluten-free cooking spray on your pie dish ensures the crust won’t stick after baking.
Tips for Rolling and Shaping Without Crumbling
Rolling gluten-free dough requires a gentle touch to avoid cracks and crumbling. One effective technique is to roll the dough between two sheets of plastic wrap. This prevents sticking and makes transferring the dough into the pie pan much easier. After shaping the crust in the pan, freezing it briefly before baking helps retain its shape and flakiness.
When pressing the crumb mixture into the pie pan, do so firmly but gently—this will create a solid, even crust that holds up well during filling and baking. Remember to bake the crust alone for 5 minutes at 425°F before adding your filling; this pre-baking step helps prevent sogginess by setting the crust’s surface.
Crafting the Ideal Pumpkin Filling
Balancing Sweetness and Spice
Achieving the perfect pumpkin filling is a dance between sweetness, spice, and the natural earthiness of the pumpkin. Start by beating eggs and sugar together until they’re well combined; this is the foundation for a smooth, custardy texture. Then, add a blend of spices along with vanilla, the prepared pumpkin, and evaporated milk.
Pay attention to sweetness when adding sugar—too much can mask the pumpkin’s flavor. Taste your filling if you can before baking and adjust spices carefully. Remember, the spices should enhance, not overpower.
How to Achieve the Perfect Texture
The filling should be silky and set just right. Baking begins at a high temperature of 425°F for 15 minutes to help the filling rise and set its edges. Then, reduce heat to 350°F and continue baking for 40 to 50 minutes. You’ll know it’s done when the filling jiggles slightly in the center but isn’t liquid. The center might look a bit wet initially, but it firms up beautifully as it cools.
After baking, allow the pie to cool at least an hour before chilling it. This resting time lets the flavors meld and the texture stabilize properly.
Baking and Presentation Tips
Preventing a Soggy Bottom Crust
The last thing you want is a soggy pie crust, especially in gluten-free baking where moisture can easily compromise texture. Pre-baking the crust before filling and starting the bake at a high temperature are excellent strategies. Additionally, freezing the crust after shaping helps maintain its integrity under the filling.
Avoid overfilling the pie, as excess liquid from the pumpkin or evaporated milk can seep into the crust. Pressing the crumb mixture firmly when making the crust also creates a stronger barrier against moisture.
Creative Garnishes to Wow Your Guests
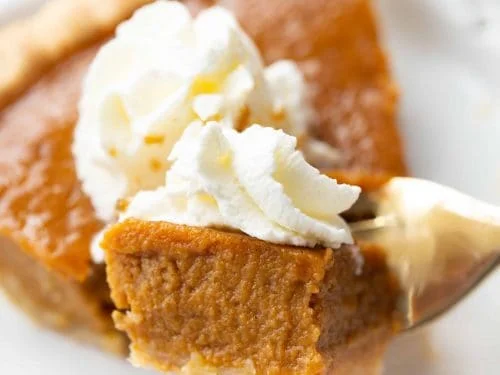
Presentation is the cherry on top of your gluten-free pumpkin pie. Classic whipped cream remains a favorite and can be enhanced with a sprinkle of cinnamon or nutmeg. For a modern twist, try dolloping spiced mascarpone or a drizzle of caramel sauce.
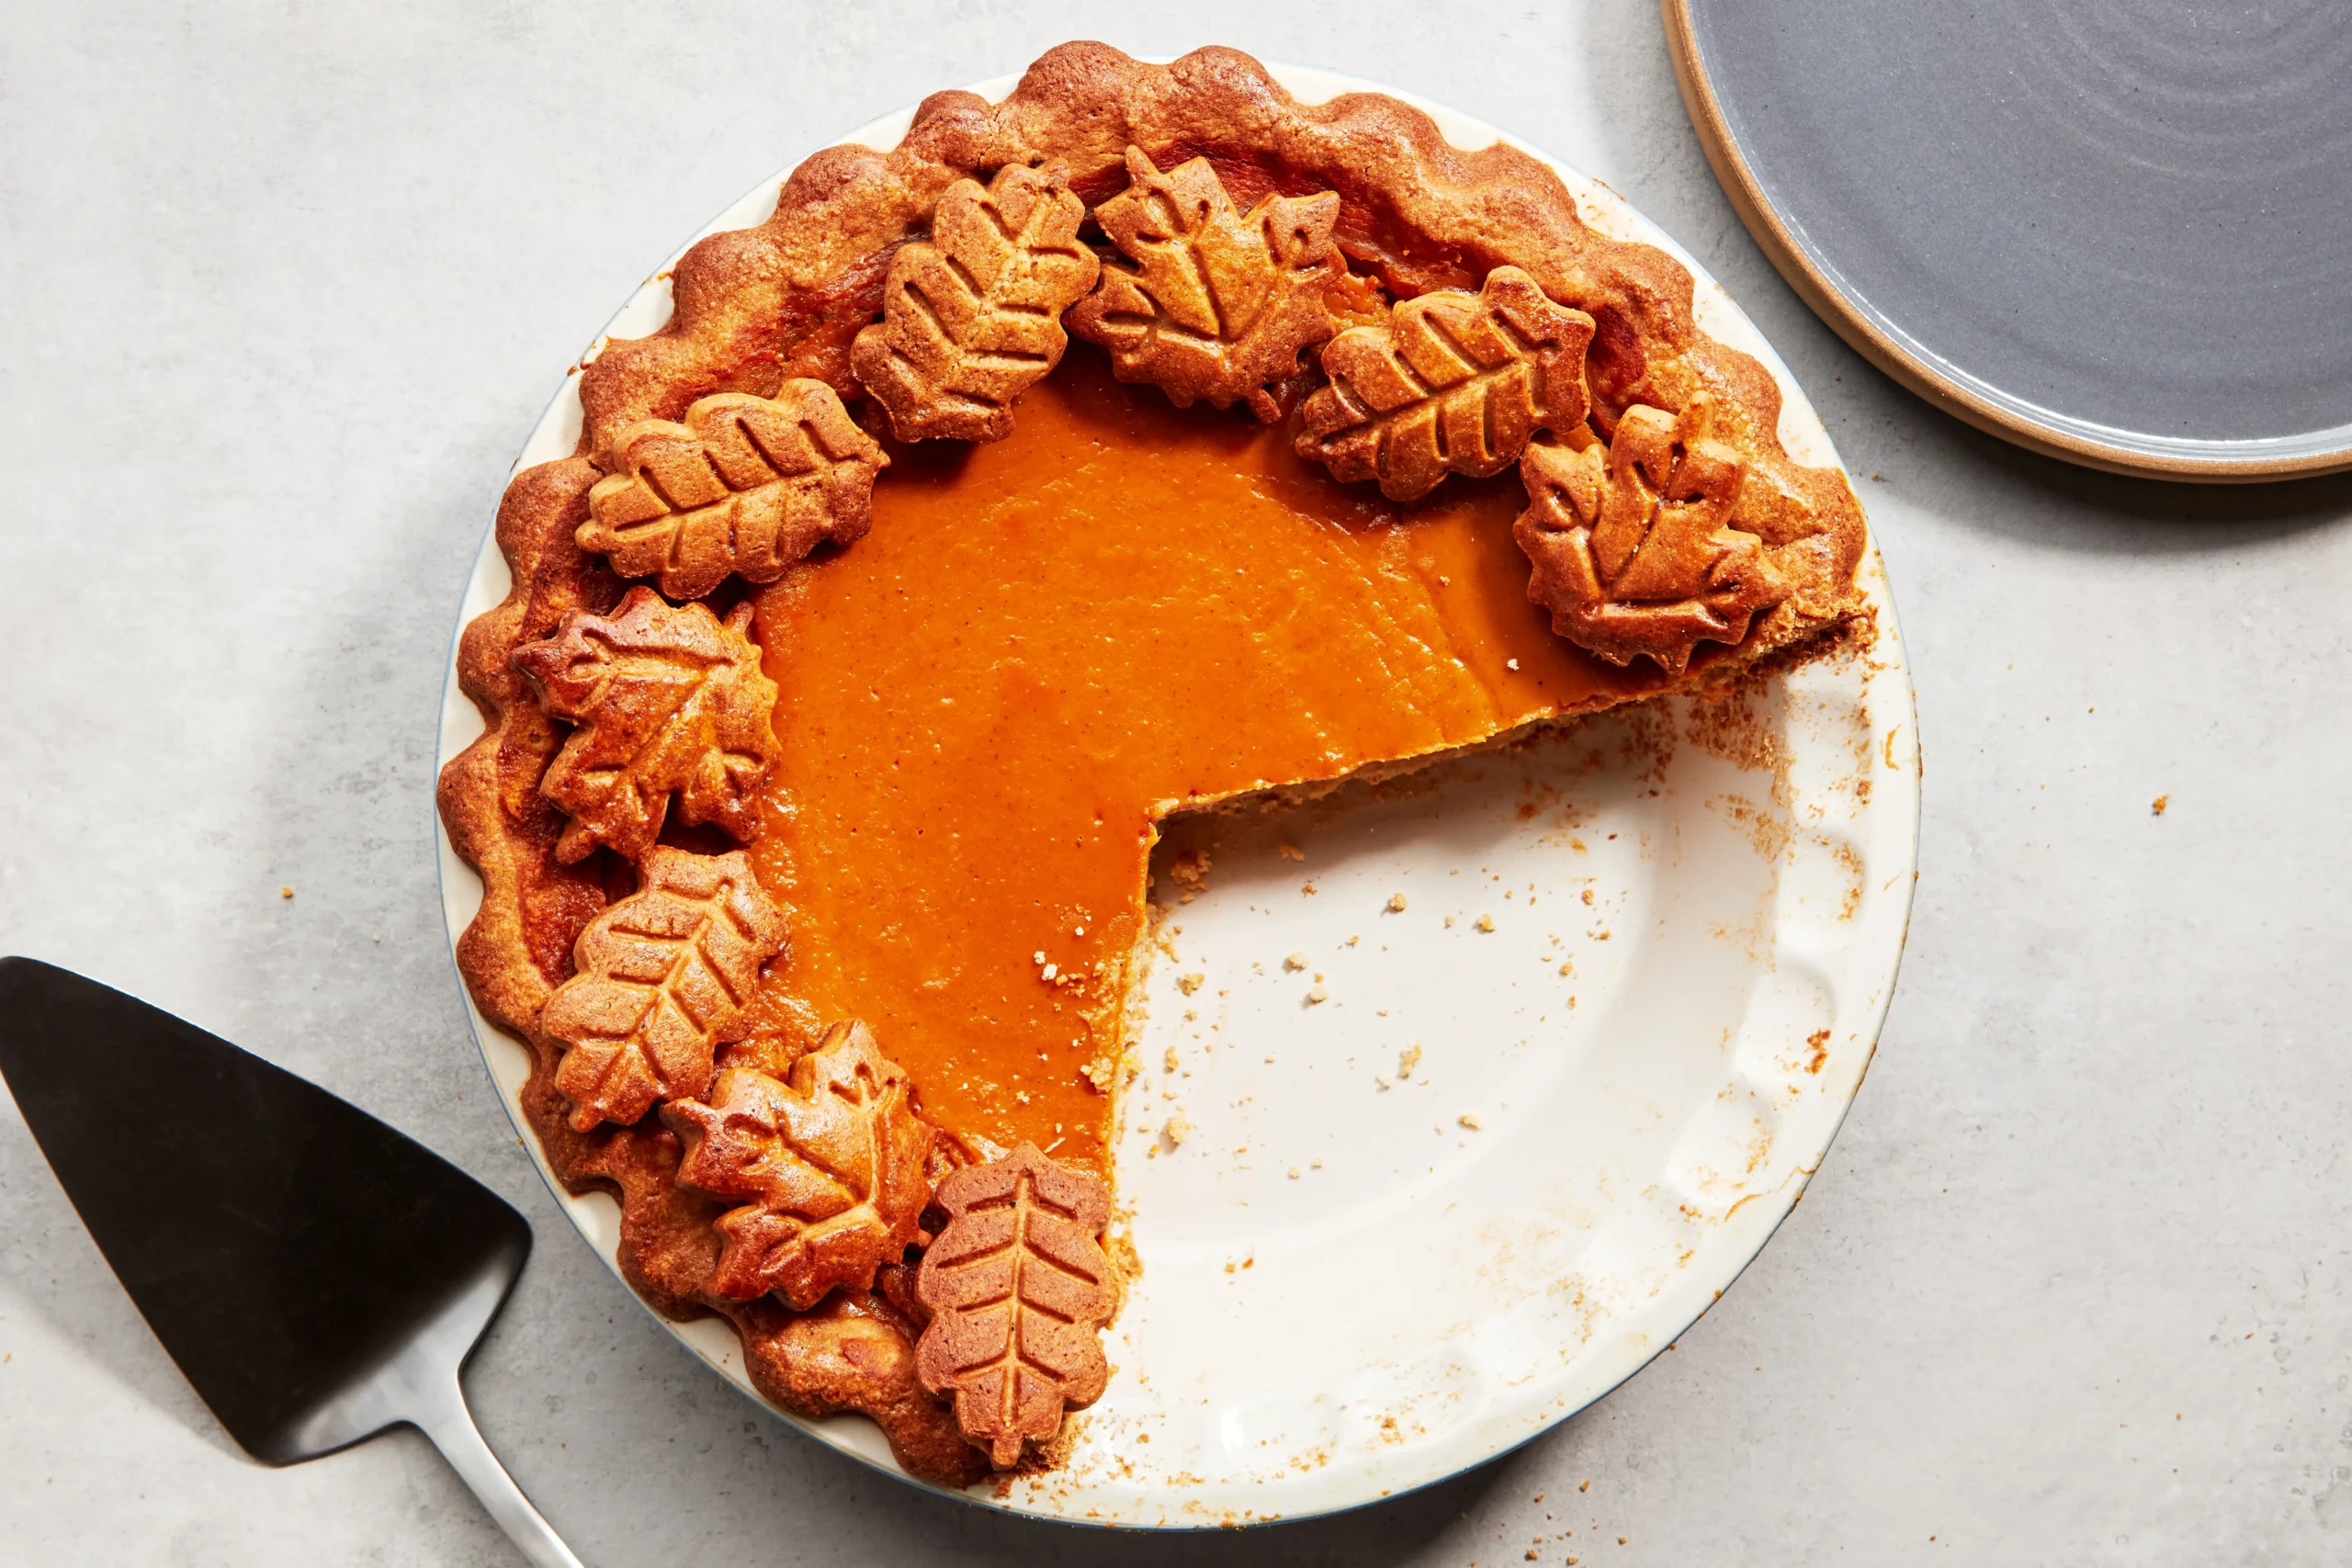
Adding toasted pecans around the edges or a few decorative pie crust cutouts can elevate the look and add texture contrast. Serving the pie chilled after at least four hours improves flavor development and creates a refreshing finish that’s sure to impress holiday guests.

