Understanding Floating Shelves and Their Installation Challenges
What Are Floating Shelves?
Floating shelves are sleek, minimalist shelving units that appear to “float” on the wall without visible brackets or supports. This design is popular in modern interiors because it creates a clean look while providing functional storage or display space. Many homeowners use floating shelves to showcase books, plants, or decorative items, making them both practical and stylish additions to any room.
Unlike traditional shelves that rely on bulky brackets, these shelves use hidden supports embedded into the wall, which makes the installation process both unique and a bit challenging, especially when you cannot secure the shelf directly into wall studs.
Common Installation Obstacles Without Studs

The biggest challenge when installing floating shelves without studs is ensuring they can bear weight safely. Studs are wooden or metal beams behind drywall, providing a strong anchor point. Without hitting a stud, the shelf relies entirely on wall anchors that must grip drywall, plaster, or other wall materials firmly. If the anchors or mounting hardware are not chosen correctly, shelves can loosen, tilt, or fall, potentially causing damage to both the wall and your belongings.
Watch the Tutorial
Another common obstacle is determining the best placement for brackets or supports when stud locations aren’t available. Using inappropriate anchors or drilling holes that are too large can lead to poor fitting, weakening the entire installation. The key lies in understanding the wall’s composition and using the right tools and techniques for a secure hold.
Essential Tools and Materials Needed
List of Tools for Secure Installation
Before starting the installation, gathering the right tools is essential. A level ensures that your shelves are perfectly horizontal, which is both a visual and functional requirement to prevent items from sliding off. A stud finder helps locate studs and avoid drilling blindly. You’ll also need a drill with various bits to start small and gradually enlarge holes, a screwdriver, a tape measure, and of course, the floating shelf and its mounting hardware.
For example, when Sarah wanted to install floating shelves in her living room, she realized having a quality stud finder saved her time by revealing stud placements, and starting with a small drill bit gave her confidence in precise hole positioning.
Choosing the Right Anchors and Fasteners
The choice of anchors depends largely on the wall material. Drywall requires specialized drywall anchors, heavy-duty molly bolts, or toggle bolts for maximum support. Plaster walls might need different fasteners because of their brittle nature. If you are mounting on concrete or brick, masonry anchors are necessary.
When Jake installed shelves in his kitchen where no studs aligned with his desired shelf location, he decided on metal toggle bolts after researching hidden support options. These anchors provided the security he needed to hold his cooking books without worry. It’s crucial to weigh the weight capacity of both the anchors and the shelf to avoid overloading and potential collapse.
Preparation Before Installation
Measuring and Marking the Wall
Accurate measurement is fundamental. Start by measuring the length of your shelf and deciding the height and position on your wall. Using a pencil and a level, mark where the brackets will be installed. Double-check these marks to ensure they are level and spaced according to the mounting hardware instructions.
For example, Emily spent extra time aligning her marks with the brackets’ exact spacing, which saved her from a frustrating reinstallation later. Taking your time at this stage prevents uneven shelves and misaligned holes.
Checking Wall Material and Weight Limits
Before drilling, identify your wall material. You can do this by tapping and listening to the sound, examining an existing hole, or using a wall material tester. Understanding the wall type helps you select the appropriate anchors and avoid damage. Also, consider the shelf’s expected load and compare it with the anchors’ weight rating.
Mark and avoid drywall areas susceptible to crumbling. Knowing these limits helps avoid common mistakes like using the wrong anchors or overloading the shelf, which can cause failure over time.
Step-by-Step Installation Process
Step 1: Locate Suitable Wall Sections Without Studs
Use a stud finder to scan the wall and locate where studs are absent. Select sections with solid drywall or supporting plaster to maximize anchor grip. If necessary, adjust your shelf placement slightly to avoid fragile spots, like where electrical wiring might be present.
John learned from experience that choosing stronger parts of drywall rather than forcing the shelf in a less ideal spot made a big difference in overall stability.
Step 2: Drill Holes and Insert Wall Anchors
Begin drilling pilot holes with a smaller drill bit to test placement. This careful approach prevents large holes that weaken the holding power. Once confirmed, enlarge the holes according to the anchor size recommended. Insert the wall anchors fully, ensuring they fit flush or slightly recessed against the wall.
Lisa avoided a common mistake by not drilling oversized holes initially, which allowed her toggle bolts to grip firmly and support heavy decorative pieces.
Step 3: Attach the Mounting Brackets
Secure the mounting brackets to the wall anchors, tightening screws firmly but not excessively to avoid damaging the wall or anchors. Check repeatedly with a level to keep brackets perfectly aligned. This alignment is crucial since even a slight tilt can affect shelf stability.
Mark’s success story highlights the importance of frequent level checks—one tiny adjustment during bracket attachment saved him from the shelf leaning after loading it with books.
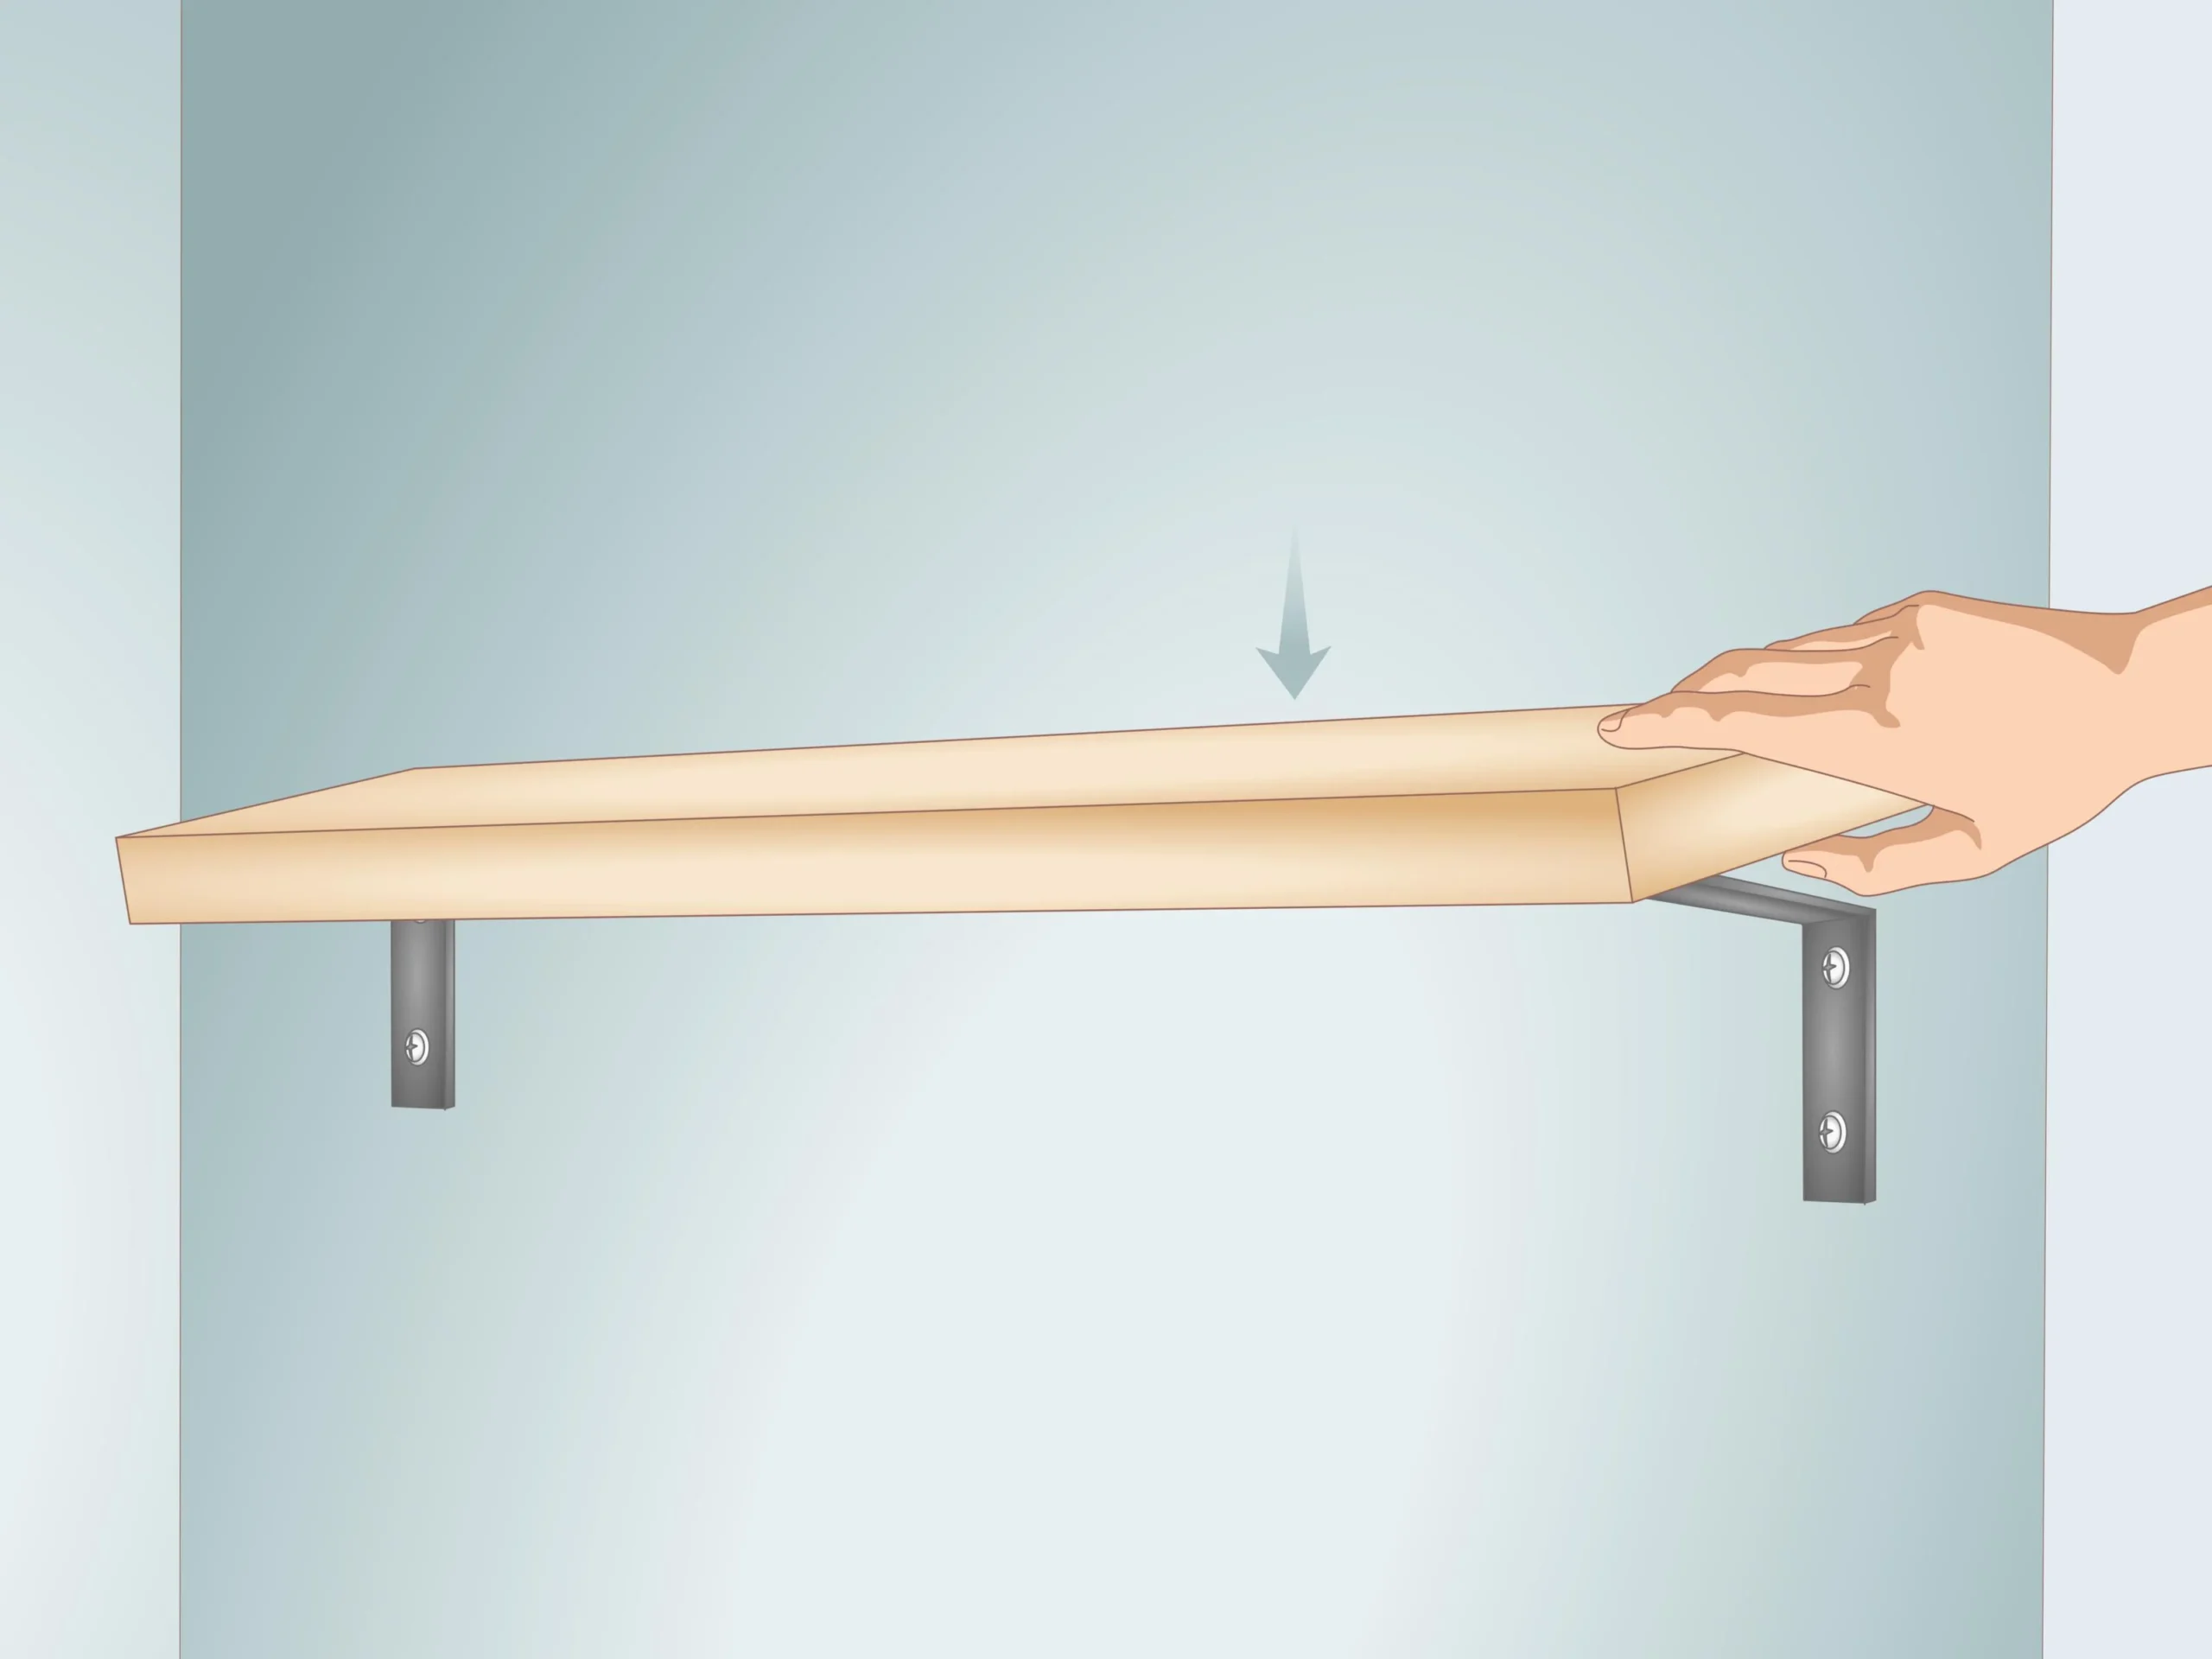
Step 4: Secure the Floating Shelf
Once brackets are firmly attached and level, slide the floating shelf onto the brackets according to the manufacturer’s instructions. Make sure the shelf fits snugly against the wall with no gaps. Some shelves have set screws or hidden fasteners you can tighten to lock them in place.
After installing his shelf, Kevin ensured he tightened all hidden screws and tested the fit by gently shaking the shelf before placing any items.
Step 5: Test Shelf Stability and Adjust as Needed
Before fully loading the shelf, place items one at a time to observe any movement or sagging. If you notice instability, reassess the anchors, bracket attachment, or shelf alignment. Small tweaks at this stage can prevent accidents later.
As a good practice, Mia revisited her shelf after a week, retightening screws and checking for wall cracks, ensuring long-term safety.
Tips for Maintaining Shelf Durability and Safety
Regular Checks and Weight Distribution
Continual maintenance is key to keeping floating shelves safe. Periodically check screws and brackets for looseness and tighten as necessary. Be mindful about distributing weight evenly, placing heavier items near the wall and lighter ones towards the edge to avoid undue strain on the anchors and wall.
Rachel learned the hard way when she piled heavy items all on one end, causing the shelf to tilt and requiring reinstallation. Regular checks can prevent such mishaps.
Using Decorative Elements to Enhance Shelf Stability
Interestingly, incorporating decorative items can help stabilize shelves visually and functionally. For instance, placing a row of books not only looks tidy but also adds balanced weight. Using decorative bookends or small plants can prevent items from sliding off, reducing the risk of accidental falls.
Moreover, some homeowners use subtle adhesive pads or rubber mats below items to add grip without compromising the floating aesthetic. These small details contribute to overall shelf durability and safety over time.

